You might be installing a module for your Joomla backend for the first time, maybe some things are not obvious. This short article will help you to find & configure a backend module. Installing a module or plugin for the backend is just as easy as for the frontend. Navigate in Joomla 4 to [YOURSITE]/administrator >> And log in with your credentials.
Once in the Joomla 4 backend you can navigate to the System Panel (menu left) and click on the link Extensions inside the Install tile. Select now your Module / Plugin (Front or Backend does not make any difference) and install it From Web / Folder / Upload (For the Upload it is required to upload the whole zip file of the desired extension).
Now after the installation process has finished successfully (hopefully) the extension is installed. But whats next? This depends on your extension, if it is a backend module you can now switch to the modules page (via Main Menu >> Content >> Administrator Modules). You should see a list of created module instances now:
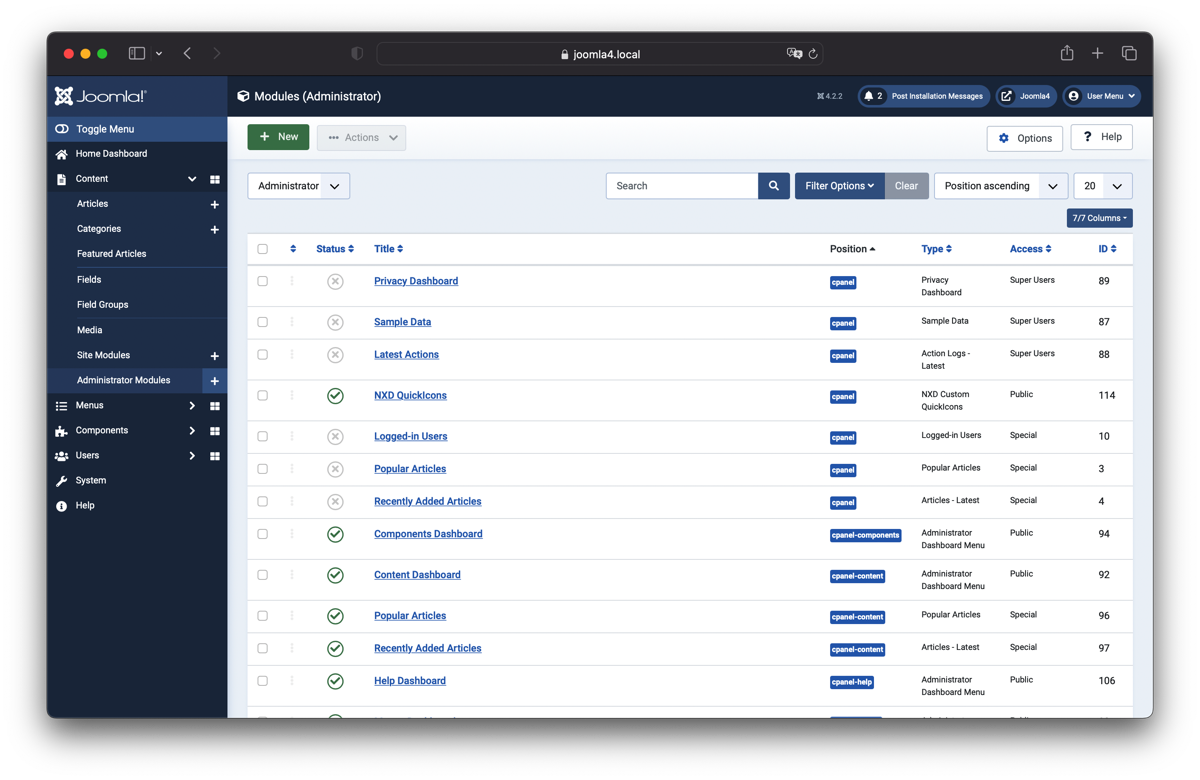
The green icon in front shows you if a module instance is published or not (like in other places).
For our NXD Custom QuickIcons Module we should see now an inactive entry (not like the one in the screenshot above) - After an installation Joomla! automatically creates a module instance by default and sets it to unpublished.
Sidenote: If you want to add another instance or cannot find it you can simply add one by using the new Button on the upper left corner. In the PopUp Select NXD Custom QuickIcons as Type.
The module settings are straight forward, First give the module instance a name, next set it to published and set as Module Position cpanel (this is the default position in the Joomla 4 Dashboard).
Aaaaaand we're done - After Saving you have now a new module instance published in your Dashboard. Checkout the following articles on how to setup NXD Custom QuickIcons.