You can easily use custom links to NXD QuickIcons to link to a certain manual or external / admin page.
1. Create Module Instance
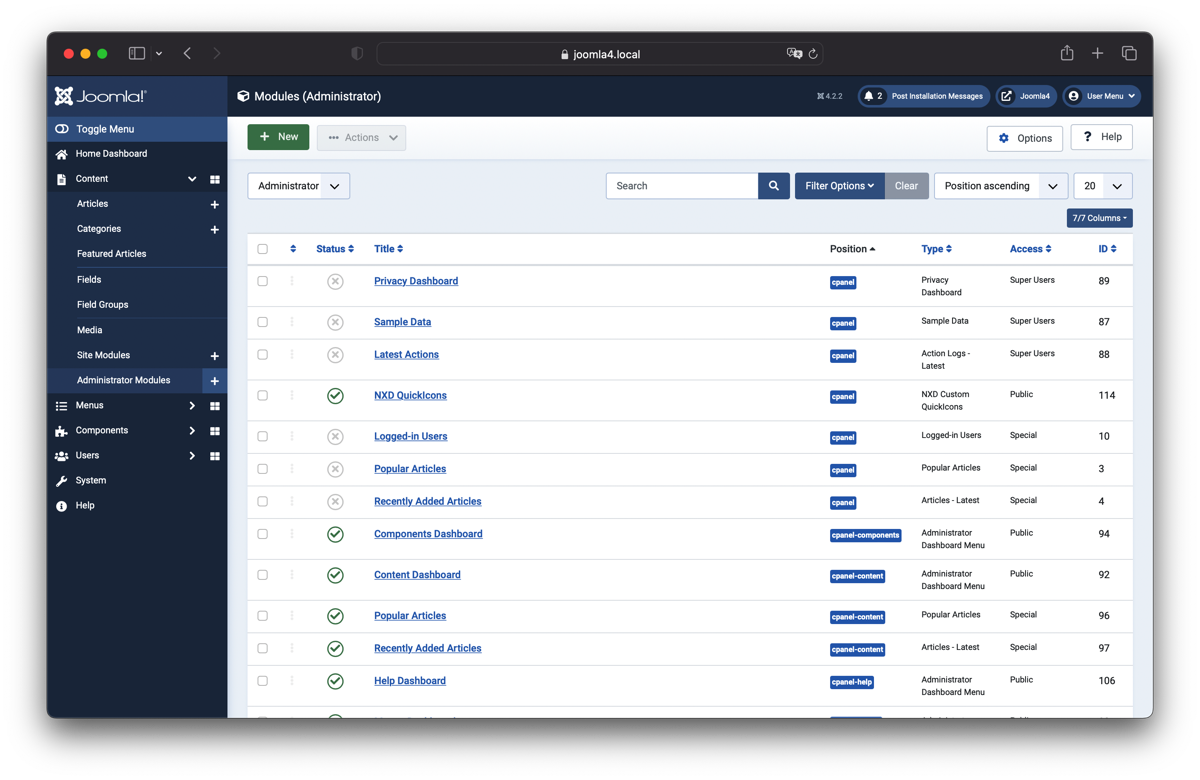
First we may need to create a new Module Instance. After the Installation navigate to Content >> Administrator Modules:
Next Click the "new" Button on the upper left corner of the screen:
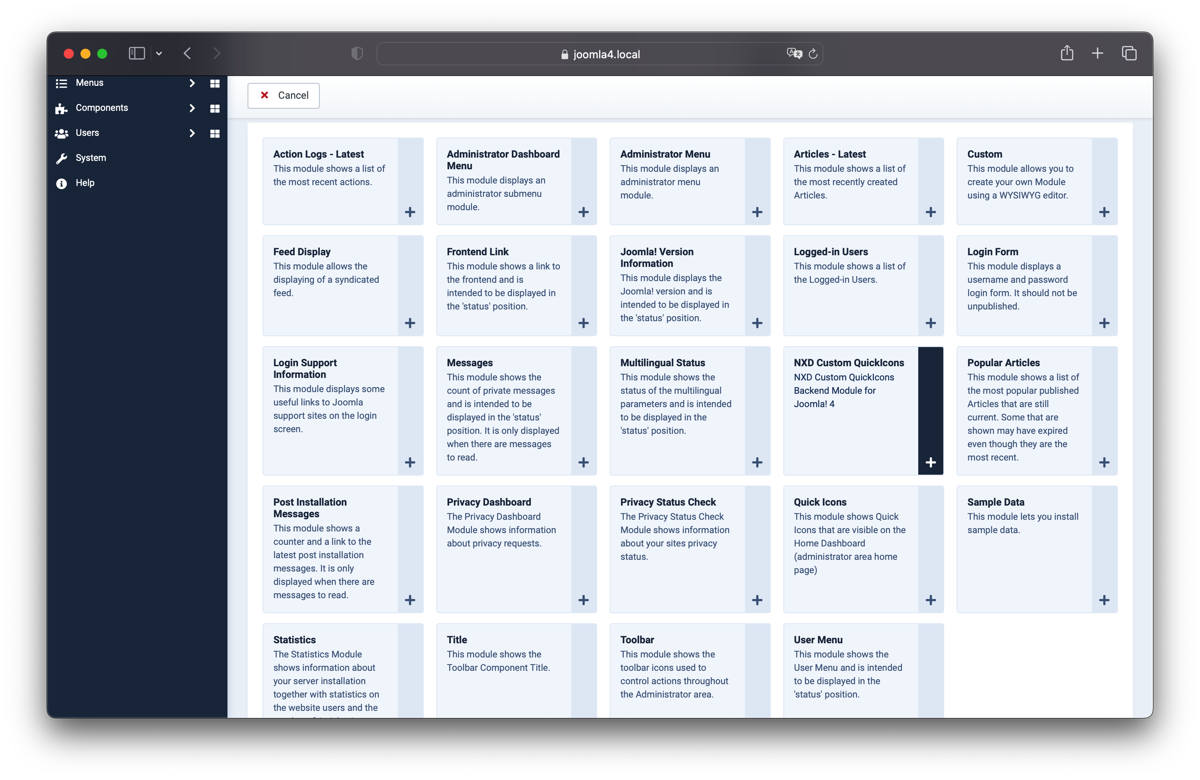
Here you have to select NXD Custom QuickIcons as Module Type:
Now you will see the Module Edit Screen:
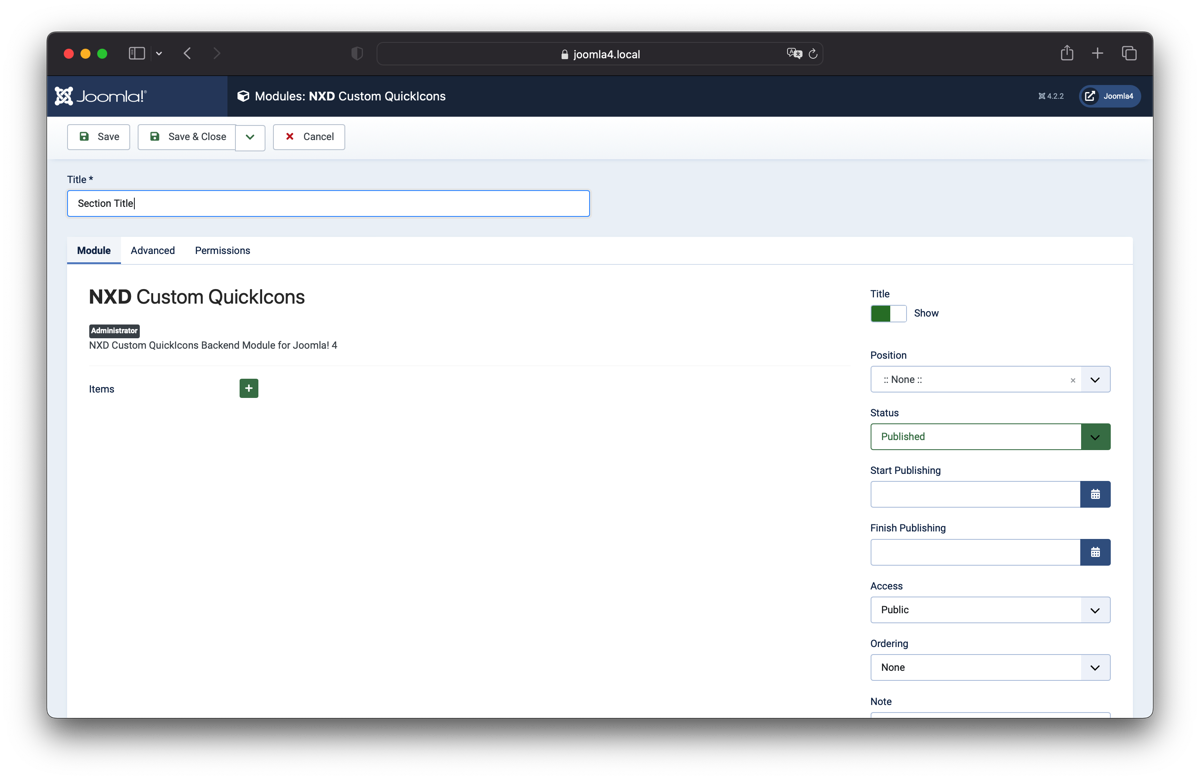
Best Practice: Add a Title, Select a Position and Safe the module instance.
2. Add new Item
Now click on the plus Icon to Add your First Link to the Module:
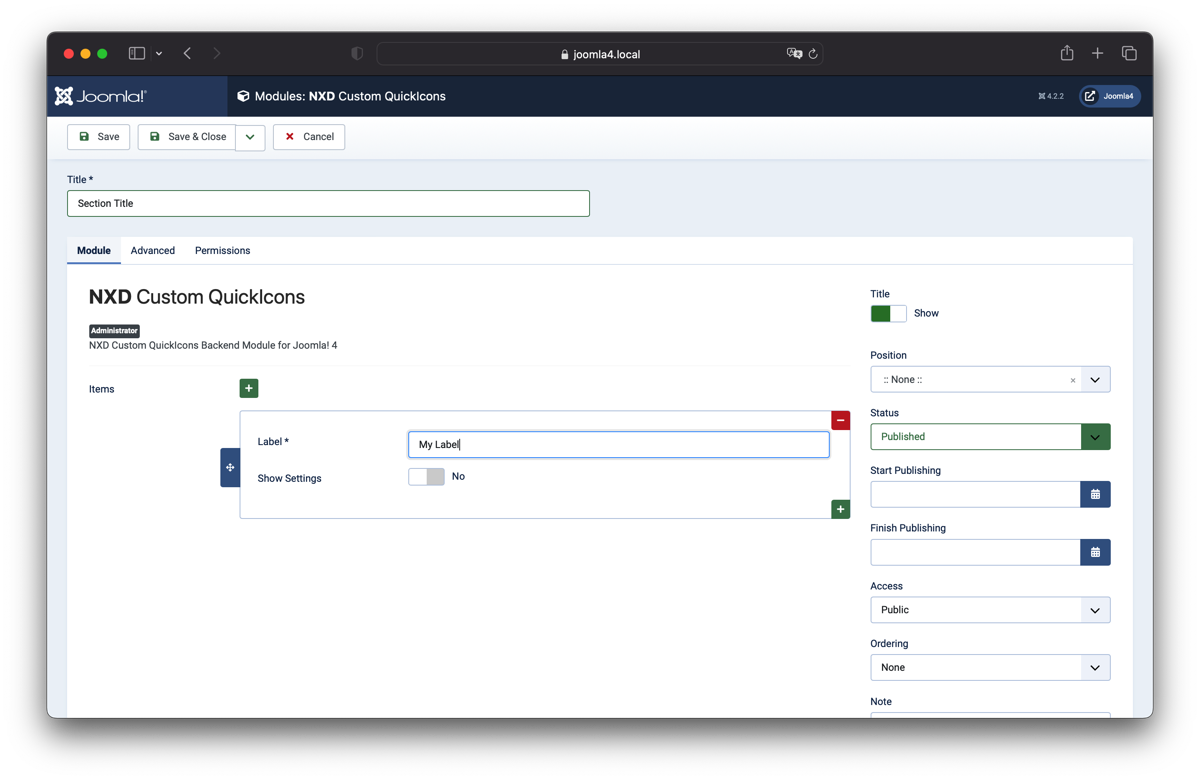
The Label will be shown on the Card, to set additional Parameters enable the Show Settings Toggler, this option has only a Backend Effect and helps you to better organize the items on this view. To add an Url we need now to toggle the Show Settings option:

As you can see now there are a few options you can set for every link item. To add a link we can now set the Link Type to "URL" and enter the URL into the URL field:

You can select one of the over 400 Icons after a click on the Select Icon Button:
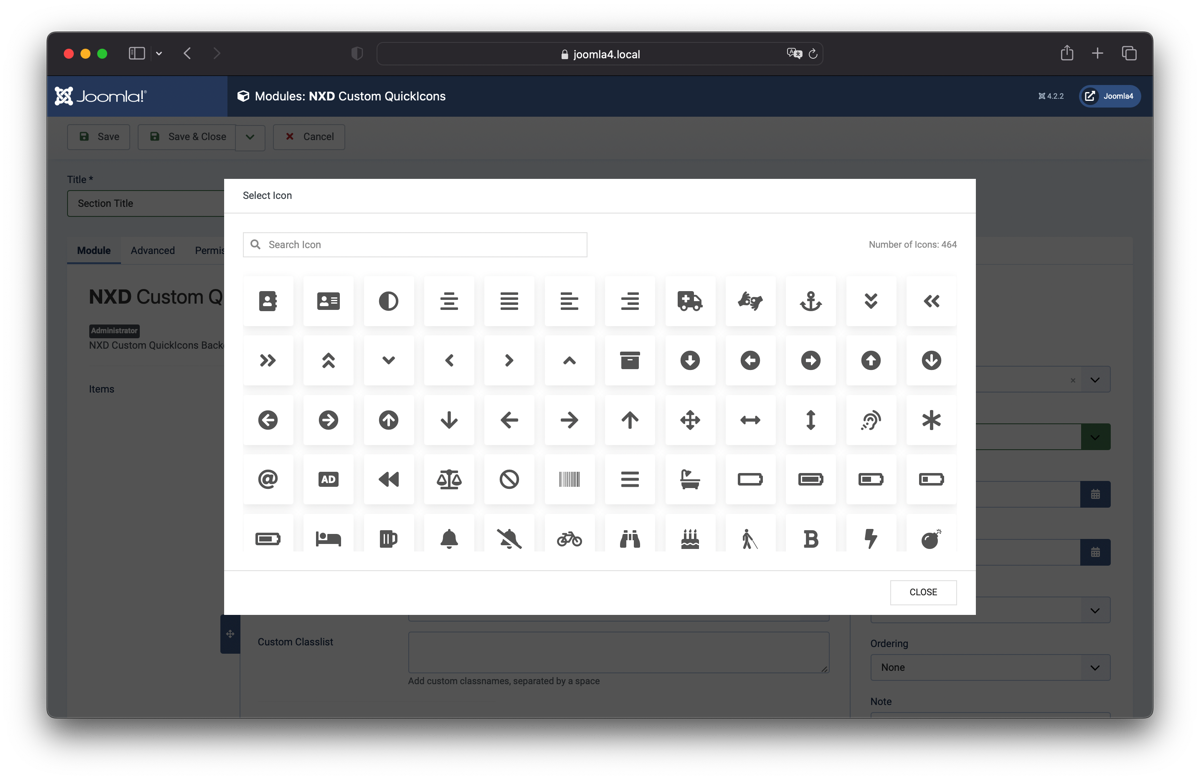
Use the Searchfield or scroll through the icons, if you like one - select to set it.
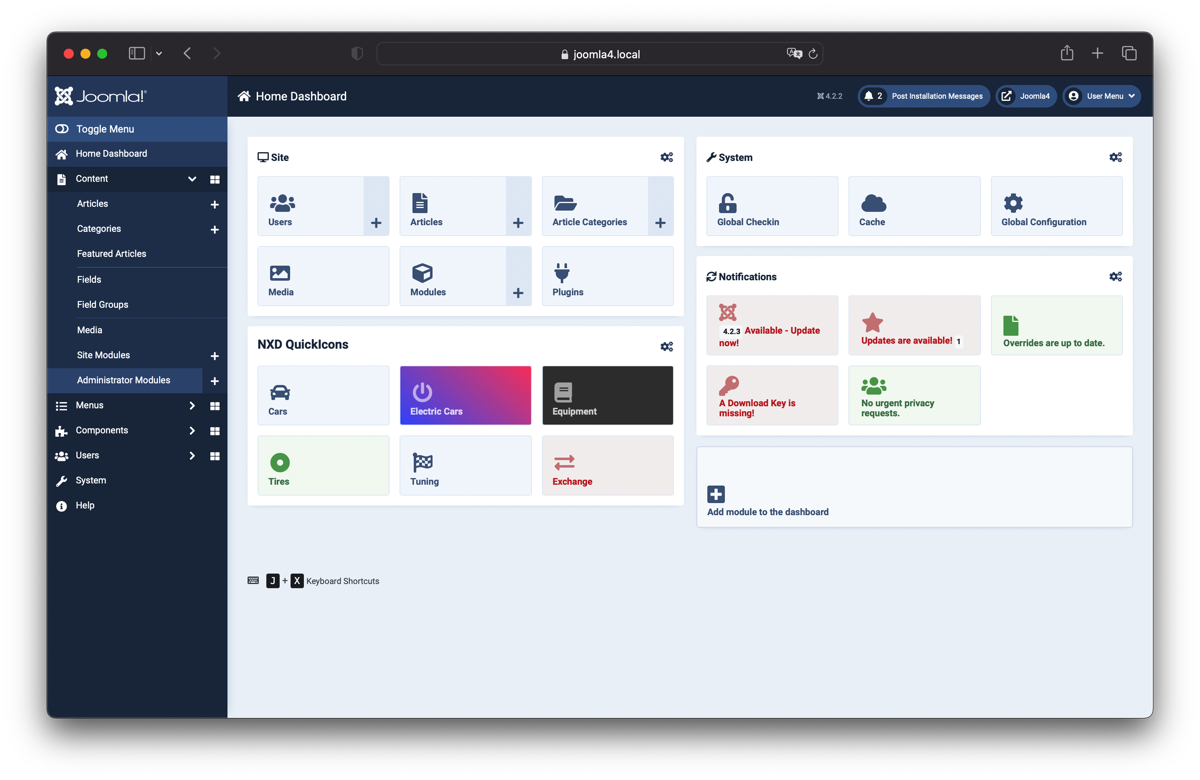
If you save your module now you will see it in the Dashboard:
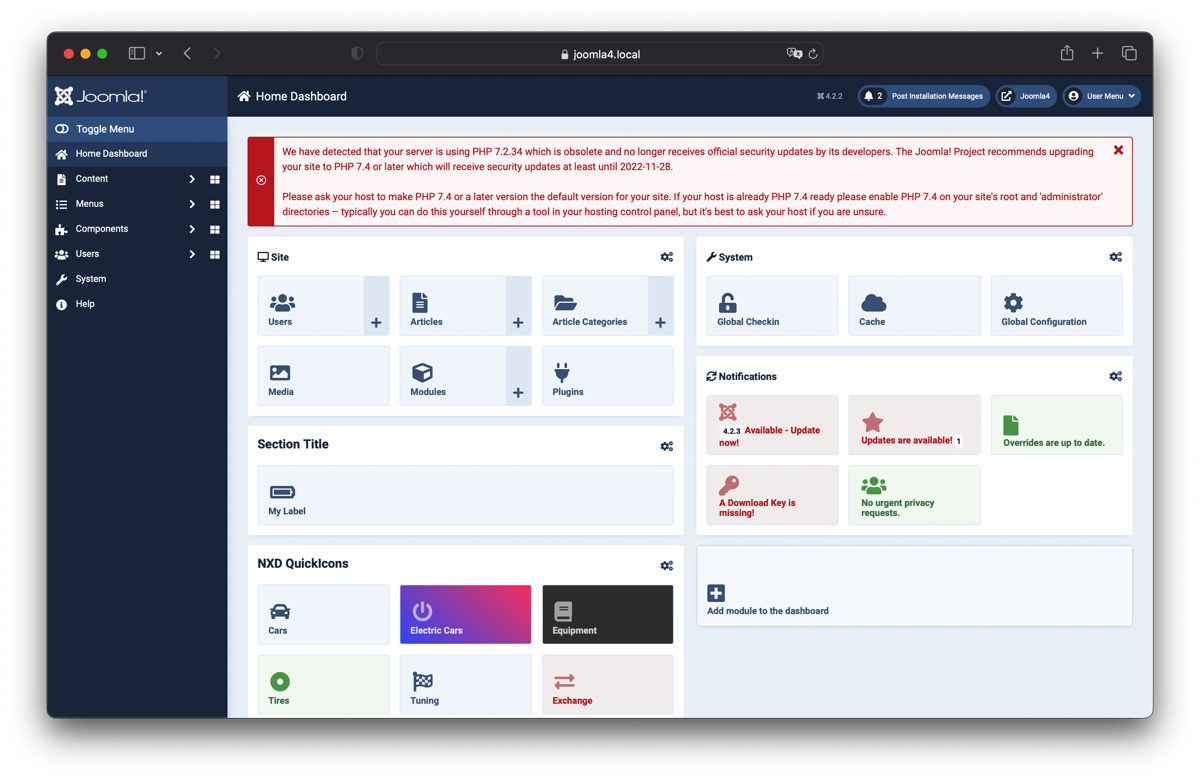
To add another Link simply reproduce the steps above - the module will flex the items on the Dashboard up to three columns (like the other modules does)