One of the most outstanding features of the iMagnifier is the ability to use dynamic sources to display the content. This short tutorial will guide you through all the configuration steps needed to do this.
Dynamic sources allow you to use a single iMagnifier module instance for an unlimited number of articles with different content. For example:
You have different products, they are listed on your site as single Joomla articles. Now you have to insert an image with magnifier function for each of these products. This may take hours. Not with iMagnifier!
What we need to do with iMagnifier:
- Create a custom field for the preview image (Type Media)
(optional) Create a custom field for the zoomed image (Type Media) - Create a new module instance of the iMagnifier
- Select "dynamic" mode in the module options
- Select your Customfield for Preview & HiRes Image
- Edit your articles, select the respective picture
- Place iMagnifier at the desired module position / in the article
Step by Step
Setting up the Customfields
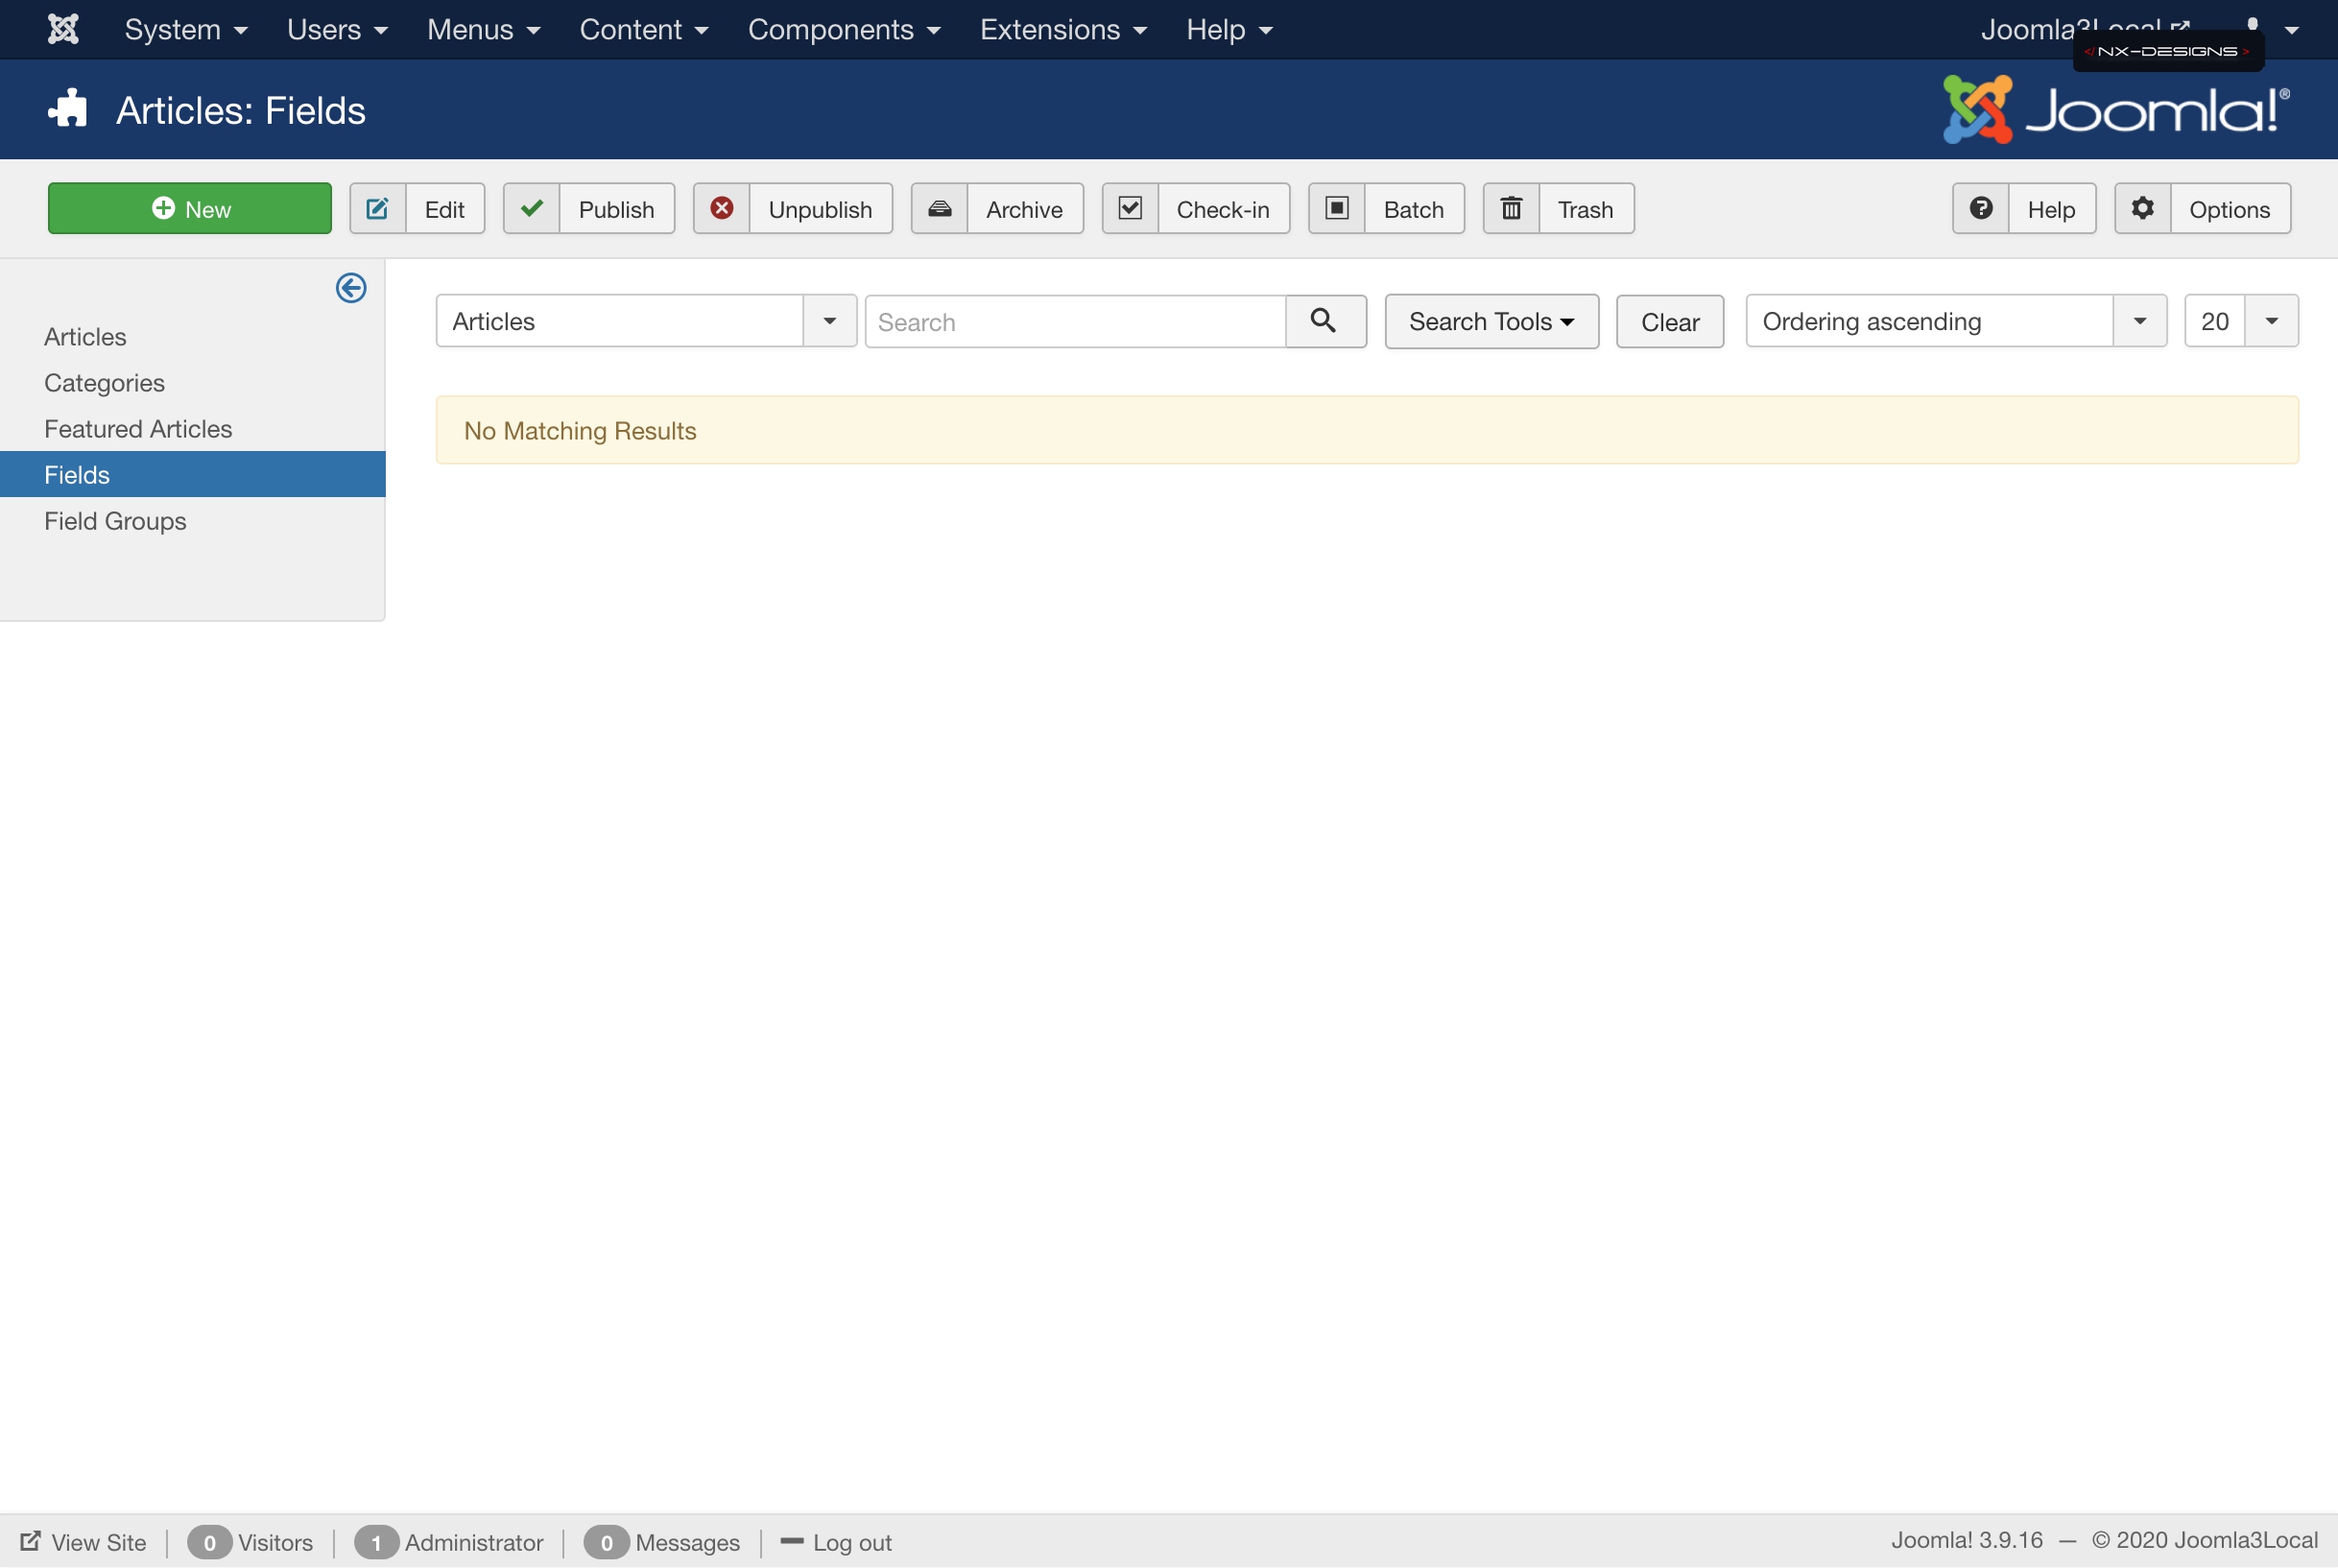
First we create the required customfiels (it doesn't matter if your Joomla articles already exist or if you still have to create them). For this we open in the Joomla backend via the main menu Content --> Fields.
We now create a new field by clicking the button "new". As field type we choose "Media" which allows us to select a BIld with the media manager later in the article editor. (Note: If you use the JCE Media Manager you can also select the JCE File Browser (media) field).
All field types are supported that save the selected image as a value.
Plugins that support responsive viewing of images or compression cannot be used.
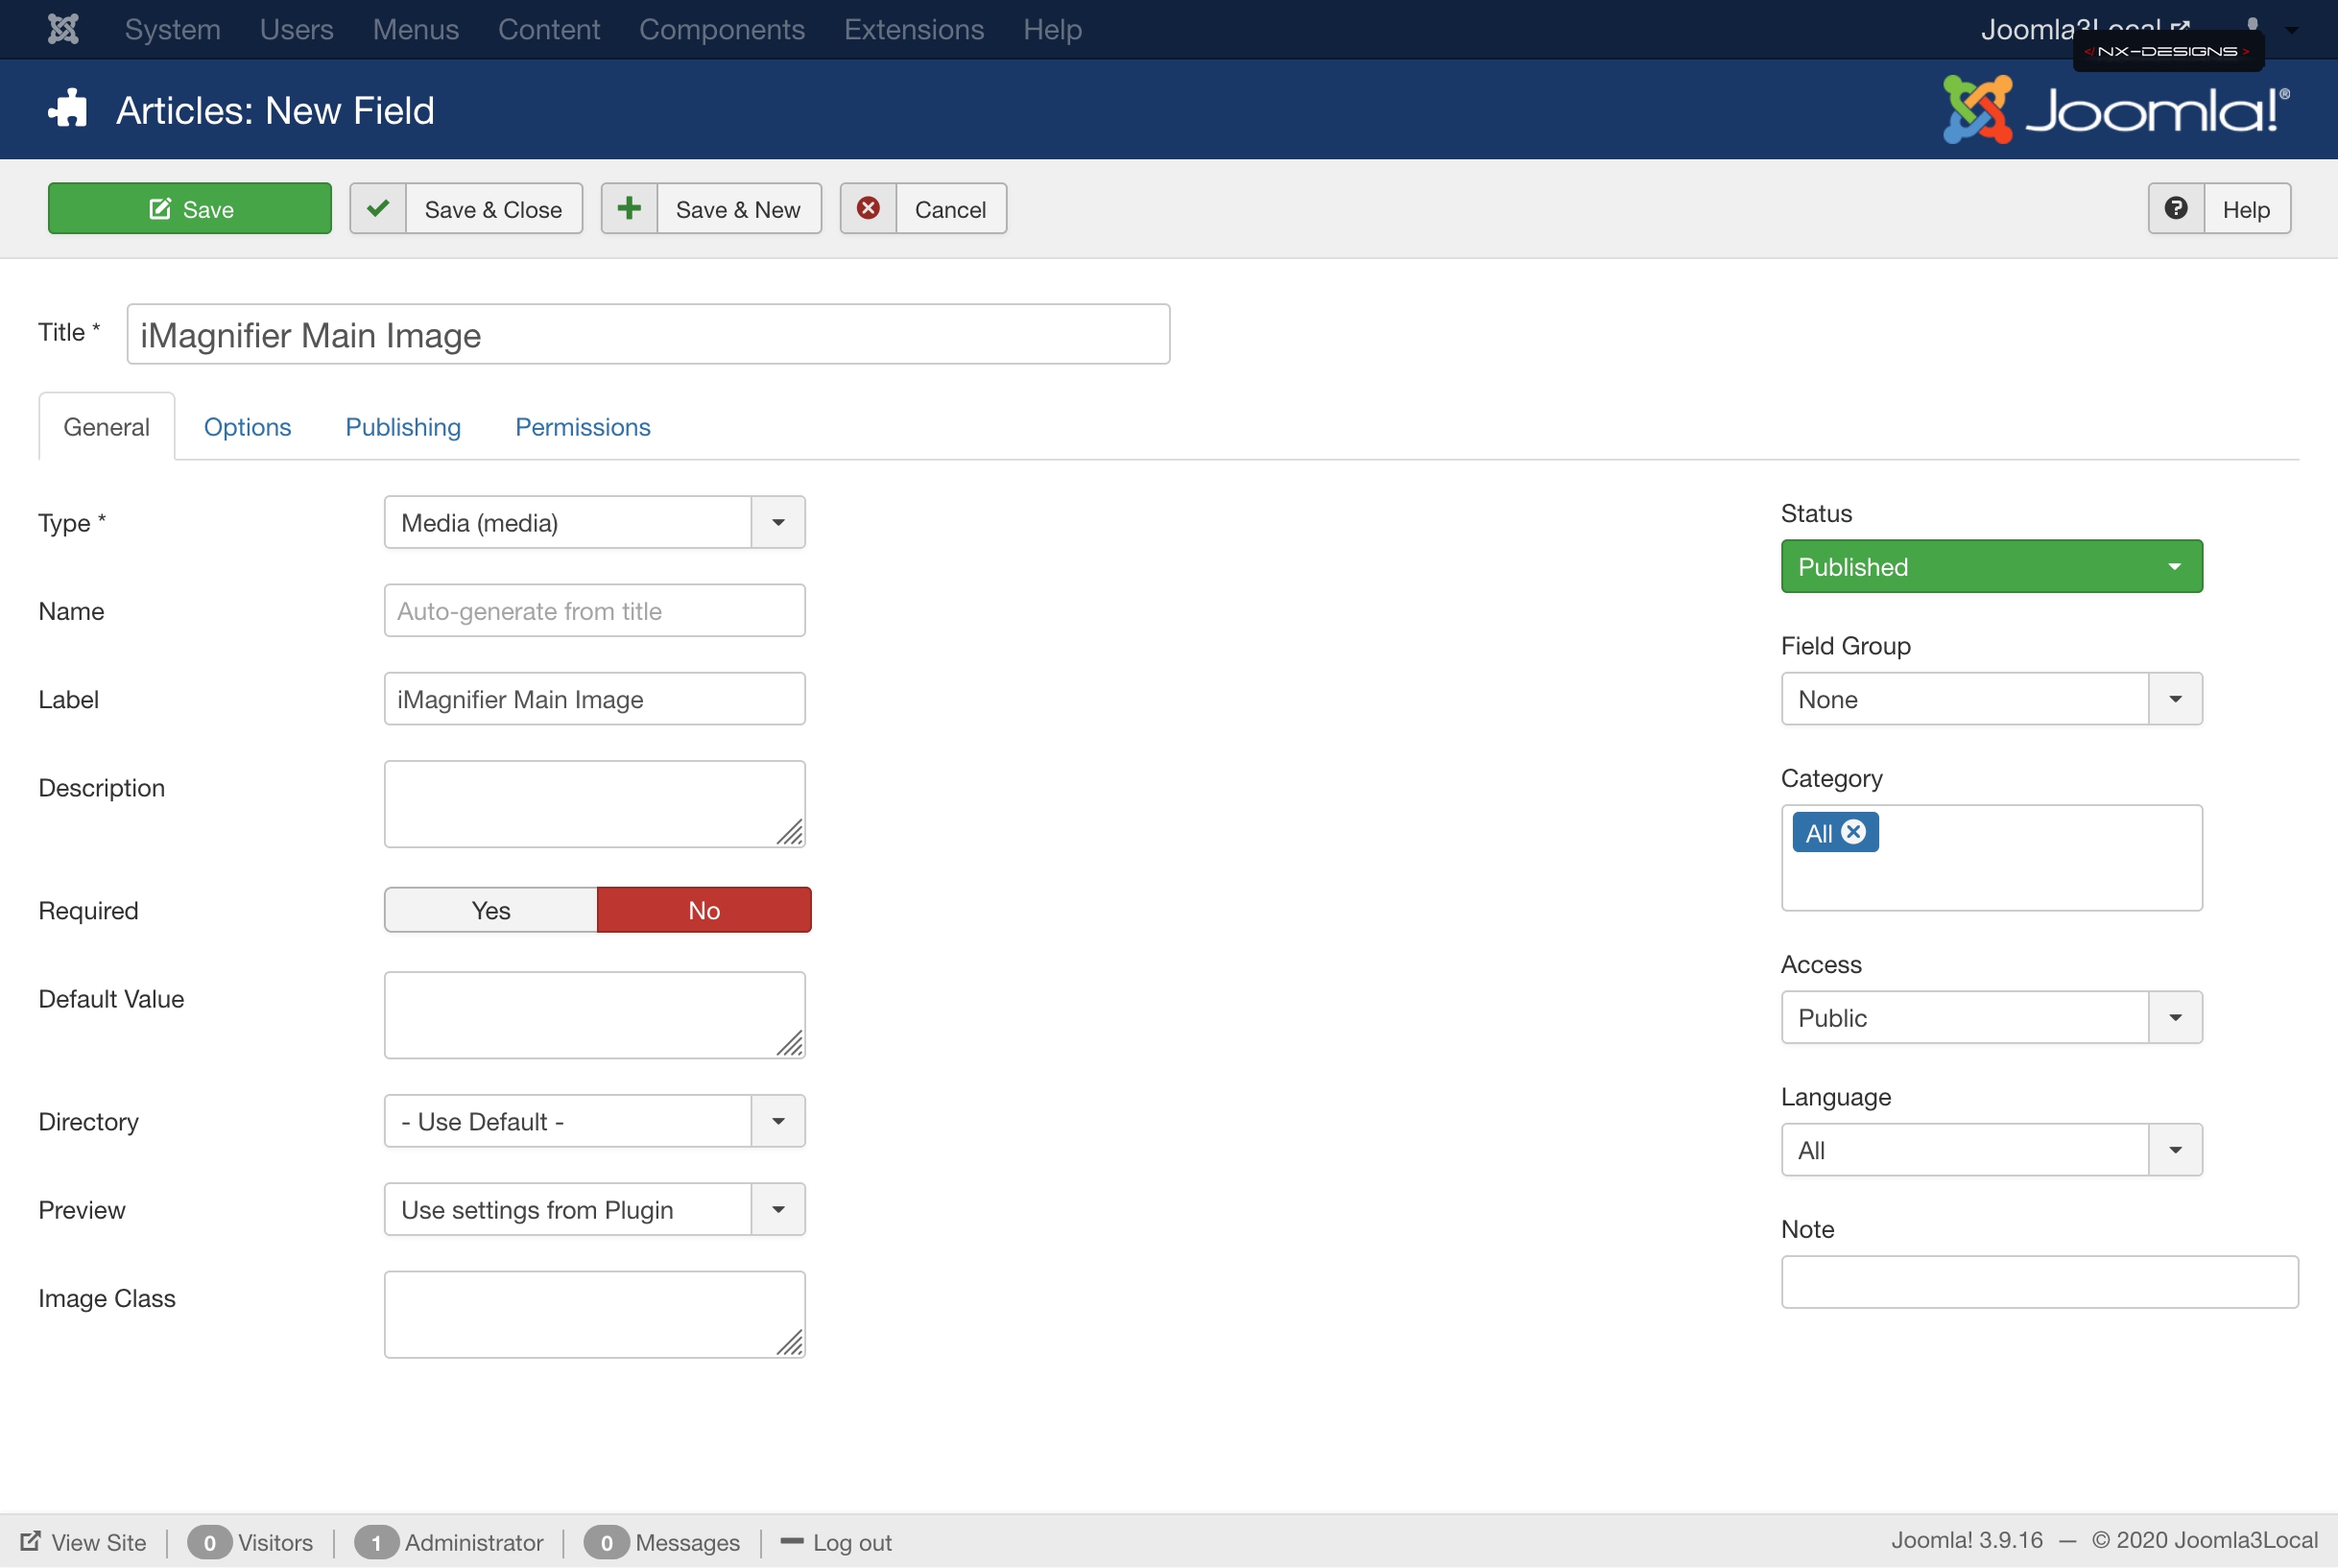
Above you see as an example the creation mask of my custom field for the Preview / Main Image. In this tutorial we don't care about the column on the right, if you know how it works you can of course add the field to a group and / or assign it to a category, but in our example we leave everything on default.
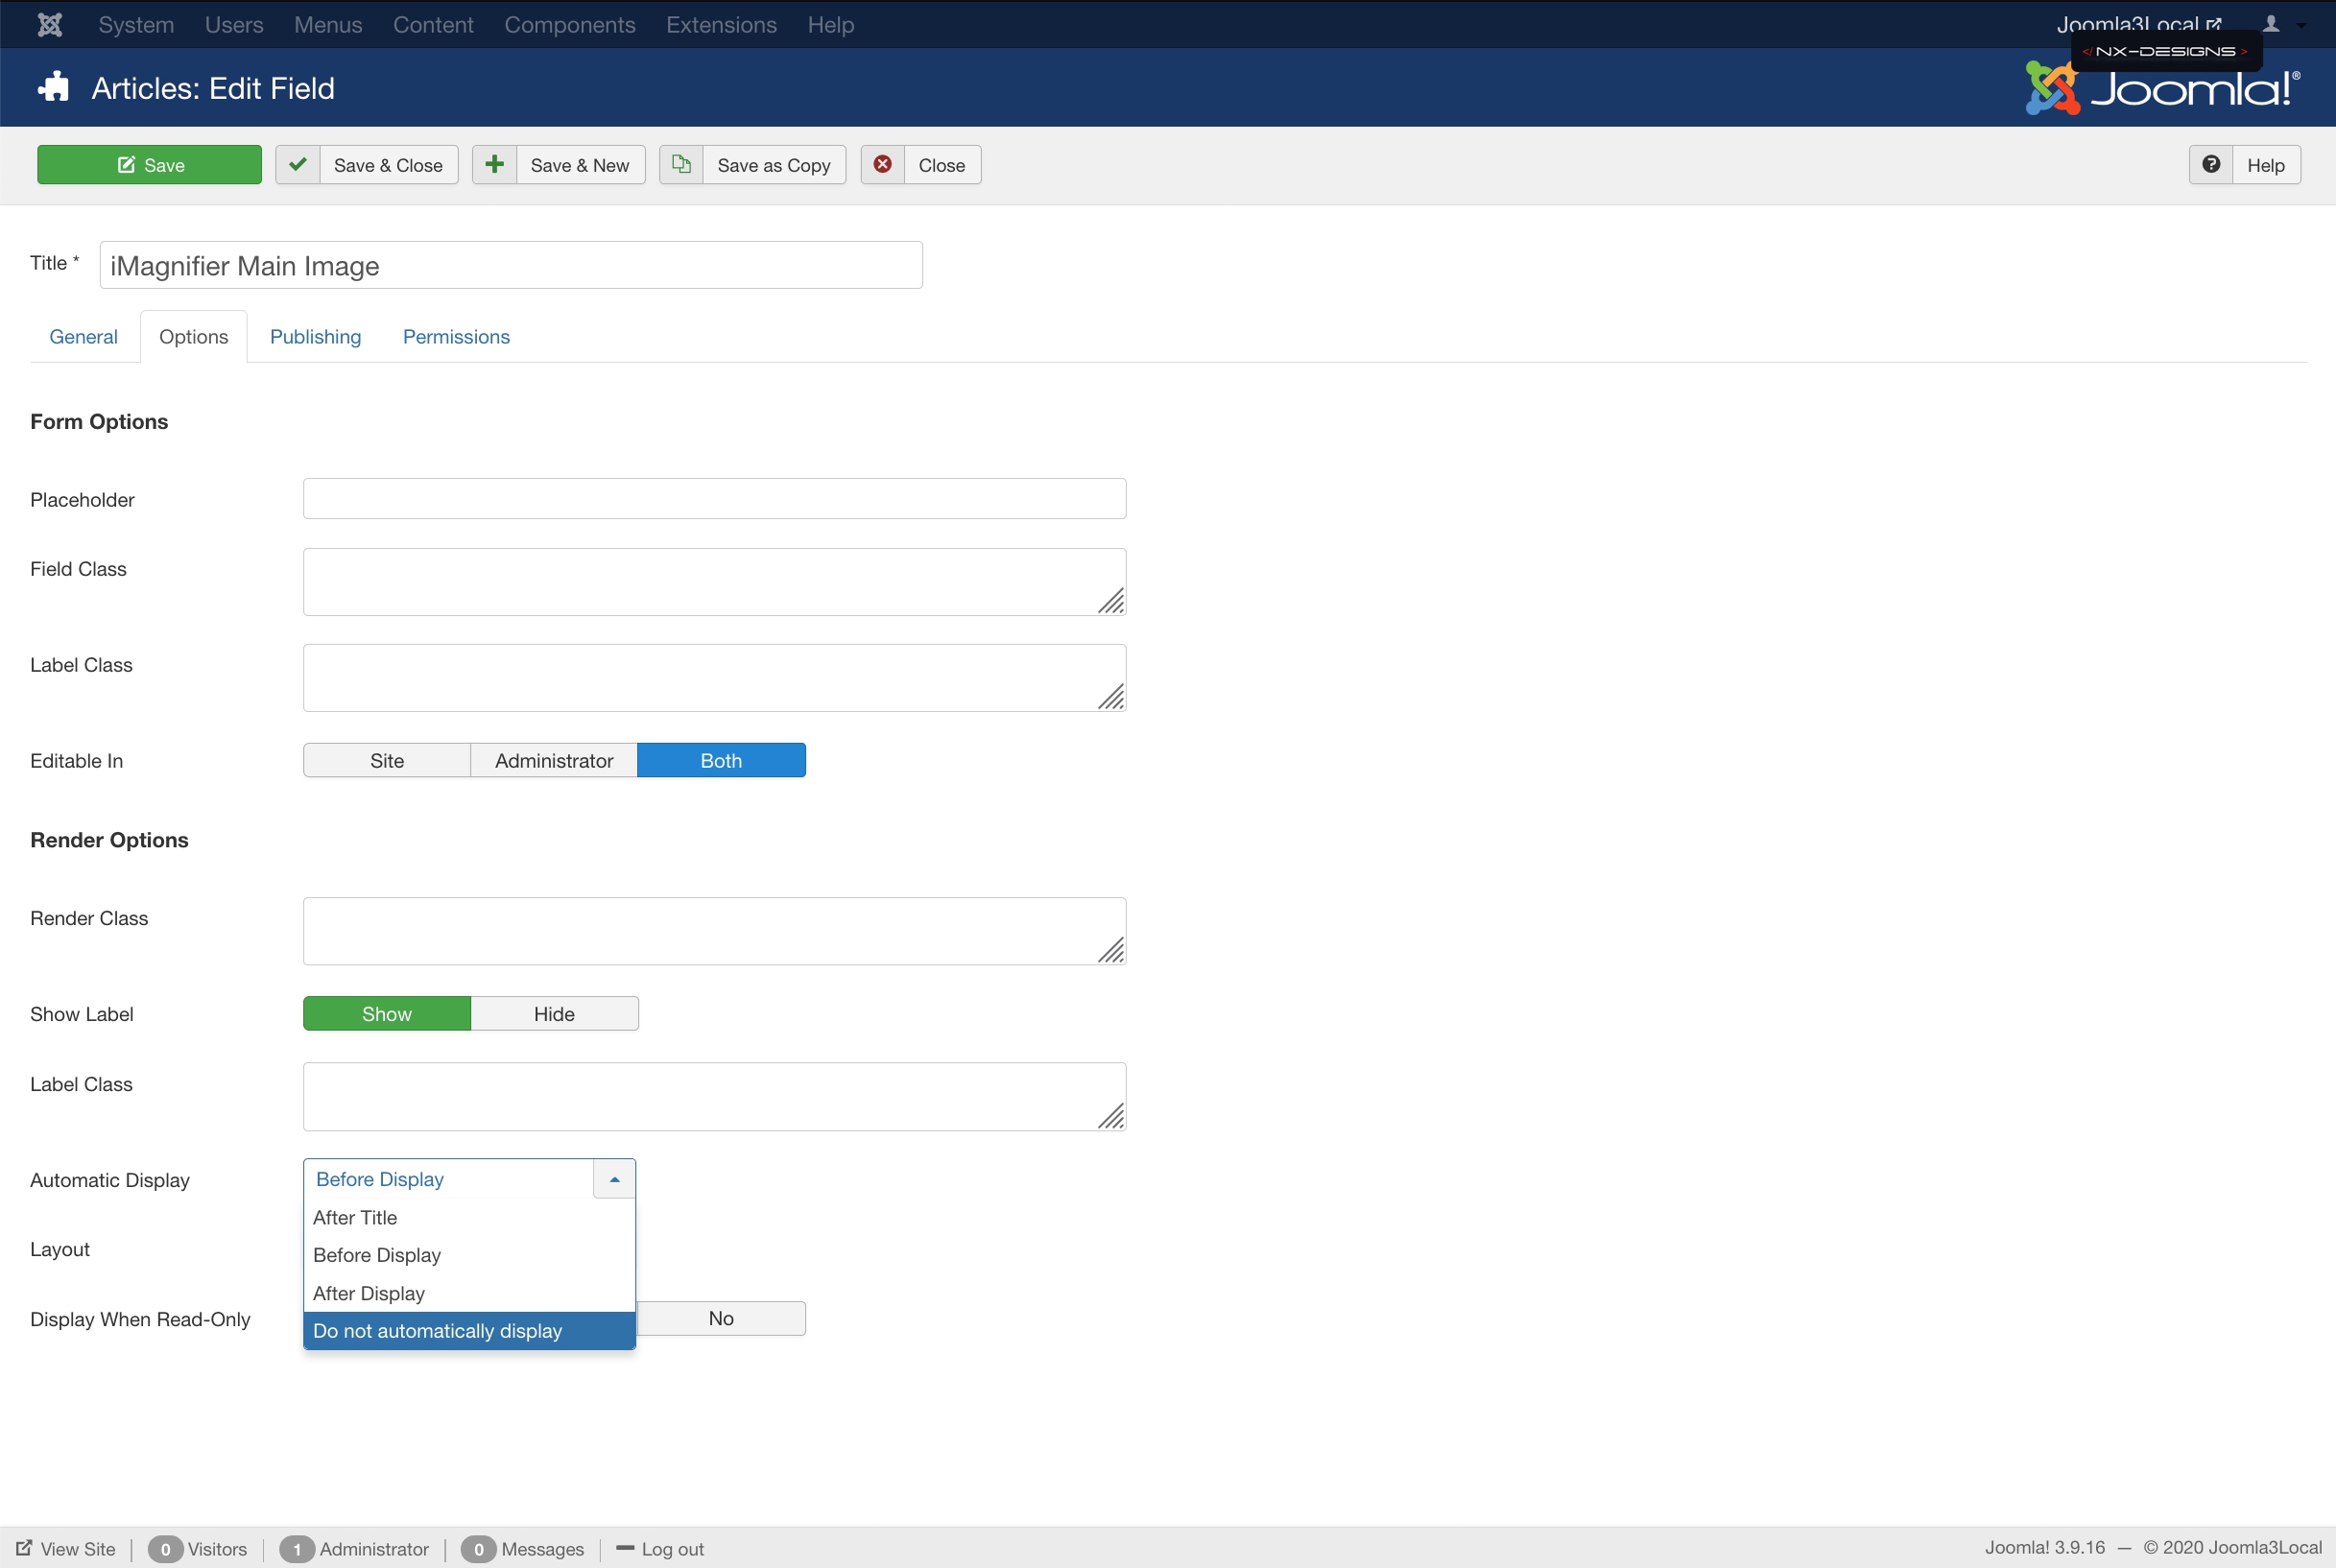
Important: iMagnifier does the rendering of the images for us, so we have to adjust a small (but important) option in the field settings. Click on the tab Options and select "Do not automatically display" for the option Automatic Display:
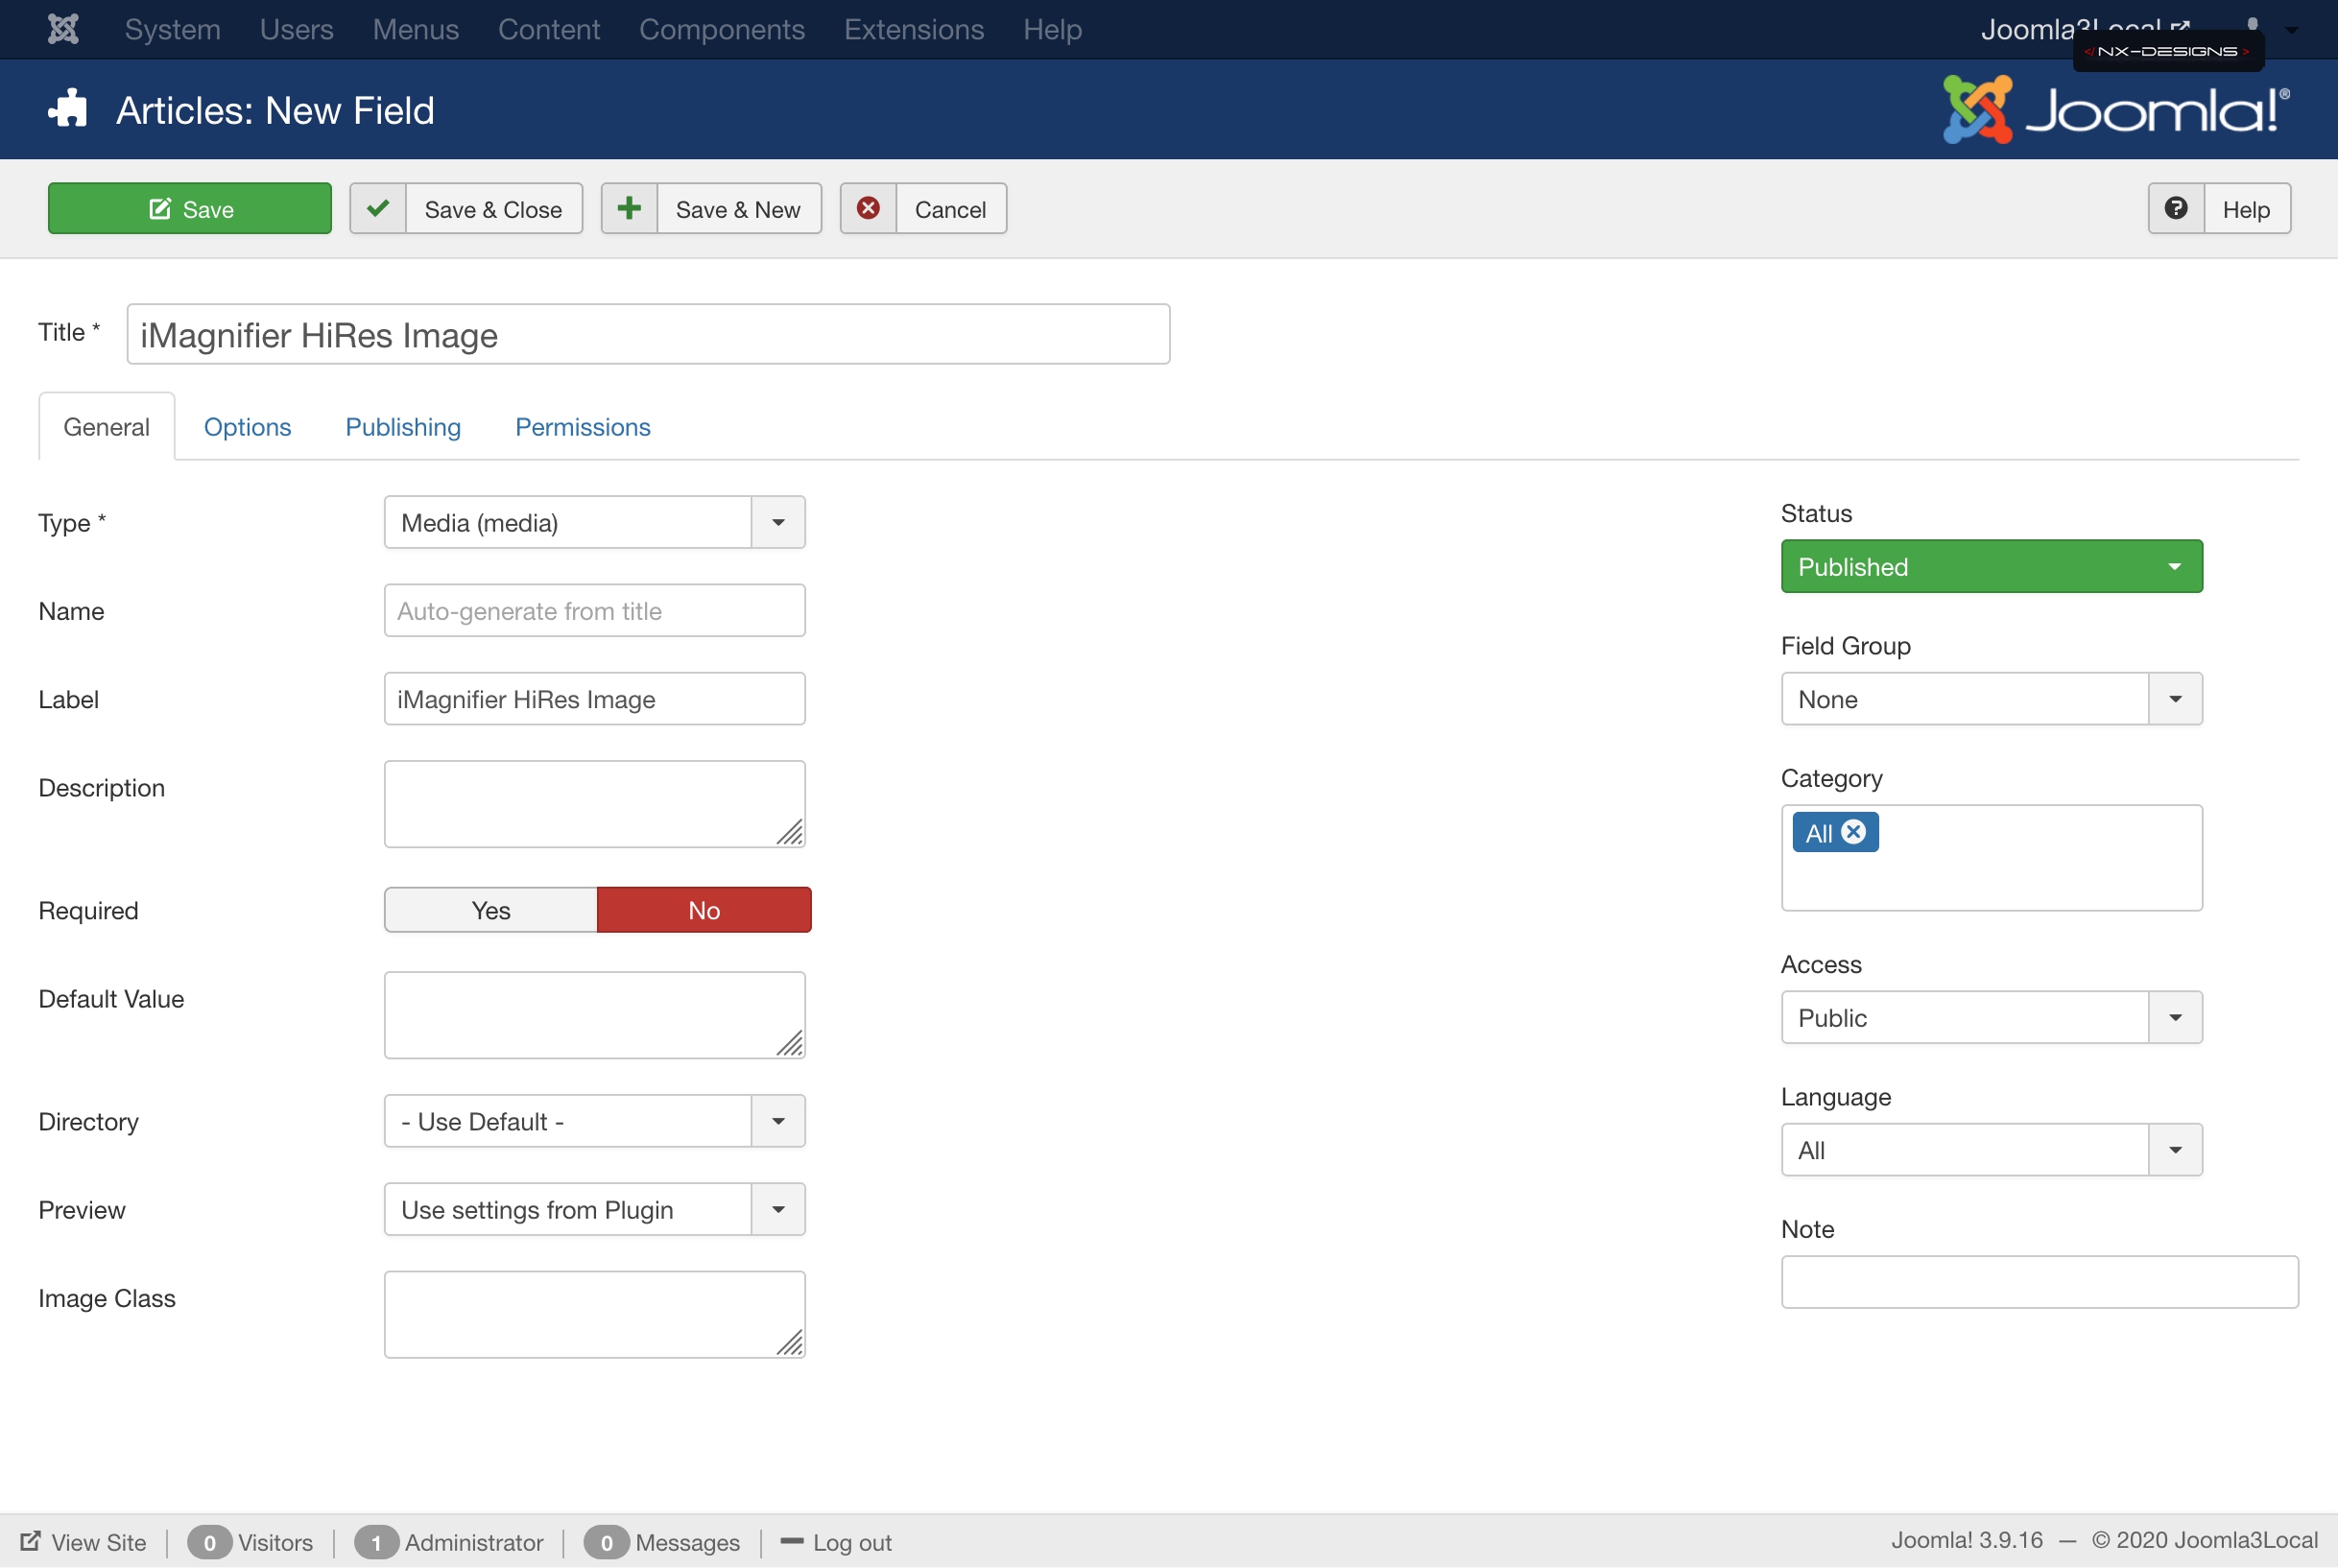
We now click on Save in the upper left corner, the new field is now displayed in the overview. If we now want to have the possibility to define a second picture (for the HiRes in the article we just click on New again in the upper left corner. Again, we select the field type Media and give the field a name:
Afterwards we have to adjust the option Automatic Display for this field as well, otherwise our image will be loaded / displayed in the header or footer of the article:
Also here of course do not forget to save and that's it as far as setting up the fields is concerned.
Creating the Module Instance
Nothing easier than that! Navigate via the Joomla! backend menu now via Extensions --> Modules into the module overview. In this view you will find a list of all generated Joomla! modules. Now create a new module using the button new in the upper left corner. As type choose iMagnifier from the list of extensions. If iMagnifier is not shown please make sure that you have bought, downloaded and installed the iMagnifier module on this page ;-)
Wenn du eine neue Modulinstanz generiert hast wirst du direkt auf dieses Fenster weitergeleitet:
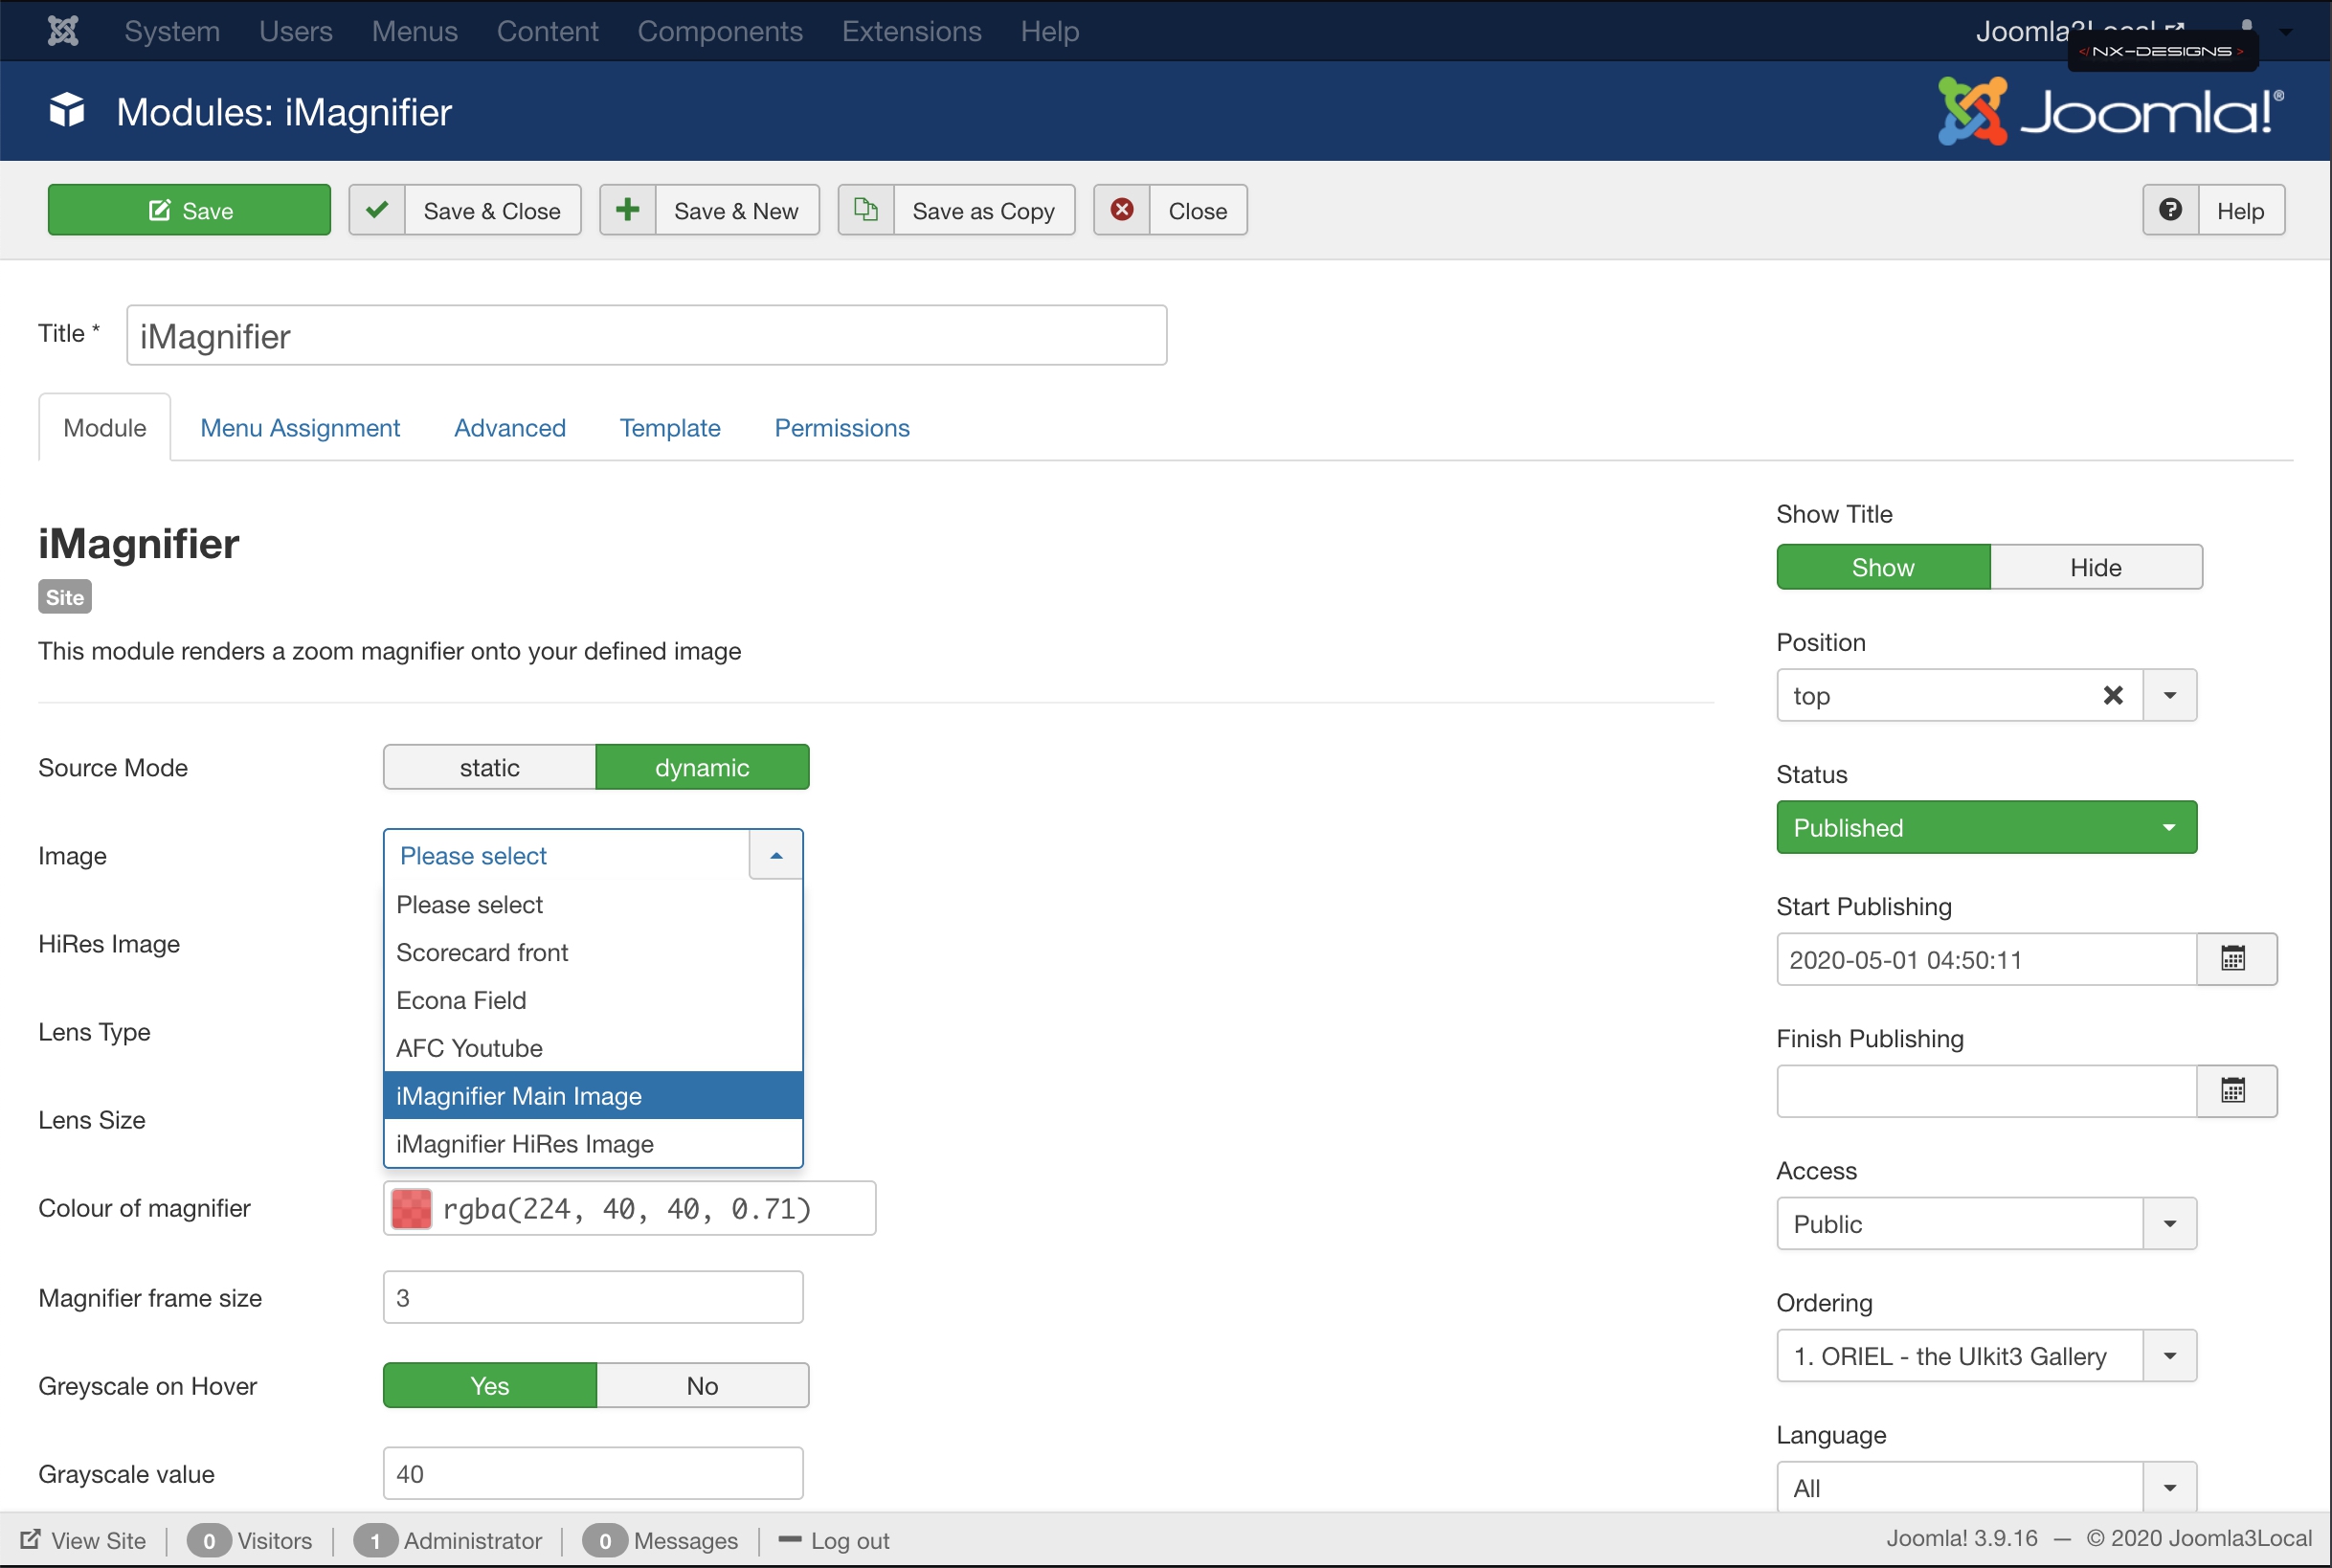
To use iMagnifier in dynamic mode simply select dynamic as source mode. After that the Image & HiRes Image fields will be replaced by drop down lists that allow you to select the custom fields you created before. So now select the previously created fields as sources for Image & HiRes Image. If you work with only one image you can either select nothing in the HiRes Image field or use the same field as for Image. The result will be the same, the Main Image is also used for zooming.
On this page you can also experiment with the settings for the color or size of the magnifier. Changes to the configuration apply to all articles / positions where this module instance is used. A mouse-over over the individual options shows you a small help text what the individual options do.
Don't forget:
In the tab Menu Assignement publish the module on all pages and set the module to the status Published!
Configure your articles
In the last step we have to fill the customfields in the respective articles with information, remember? The values of the customfields are used to display the image and the zoom and can be defined individually for each article. For this we go back via the main menu: Content --> Articles and edit our articles.
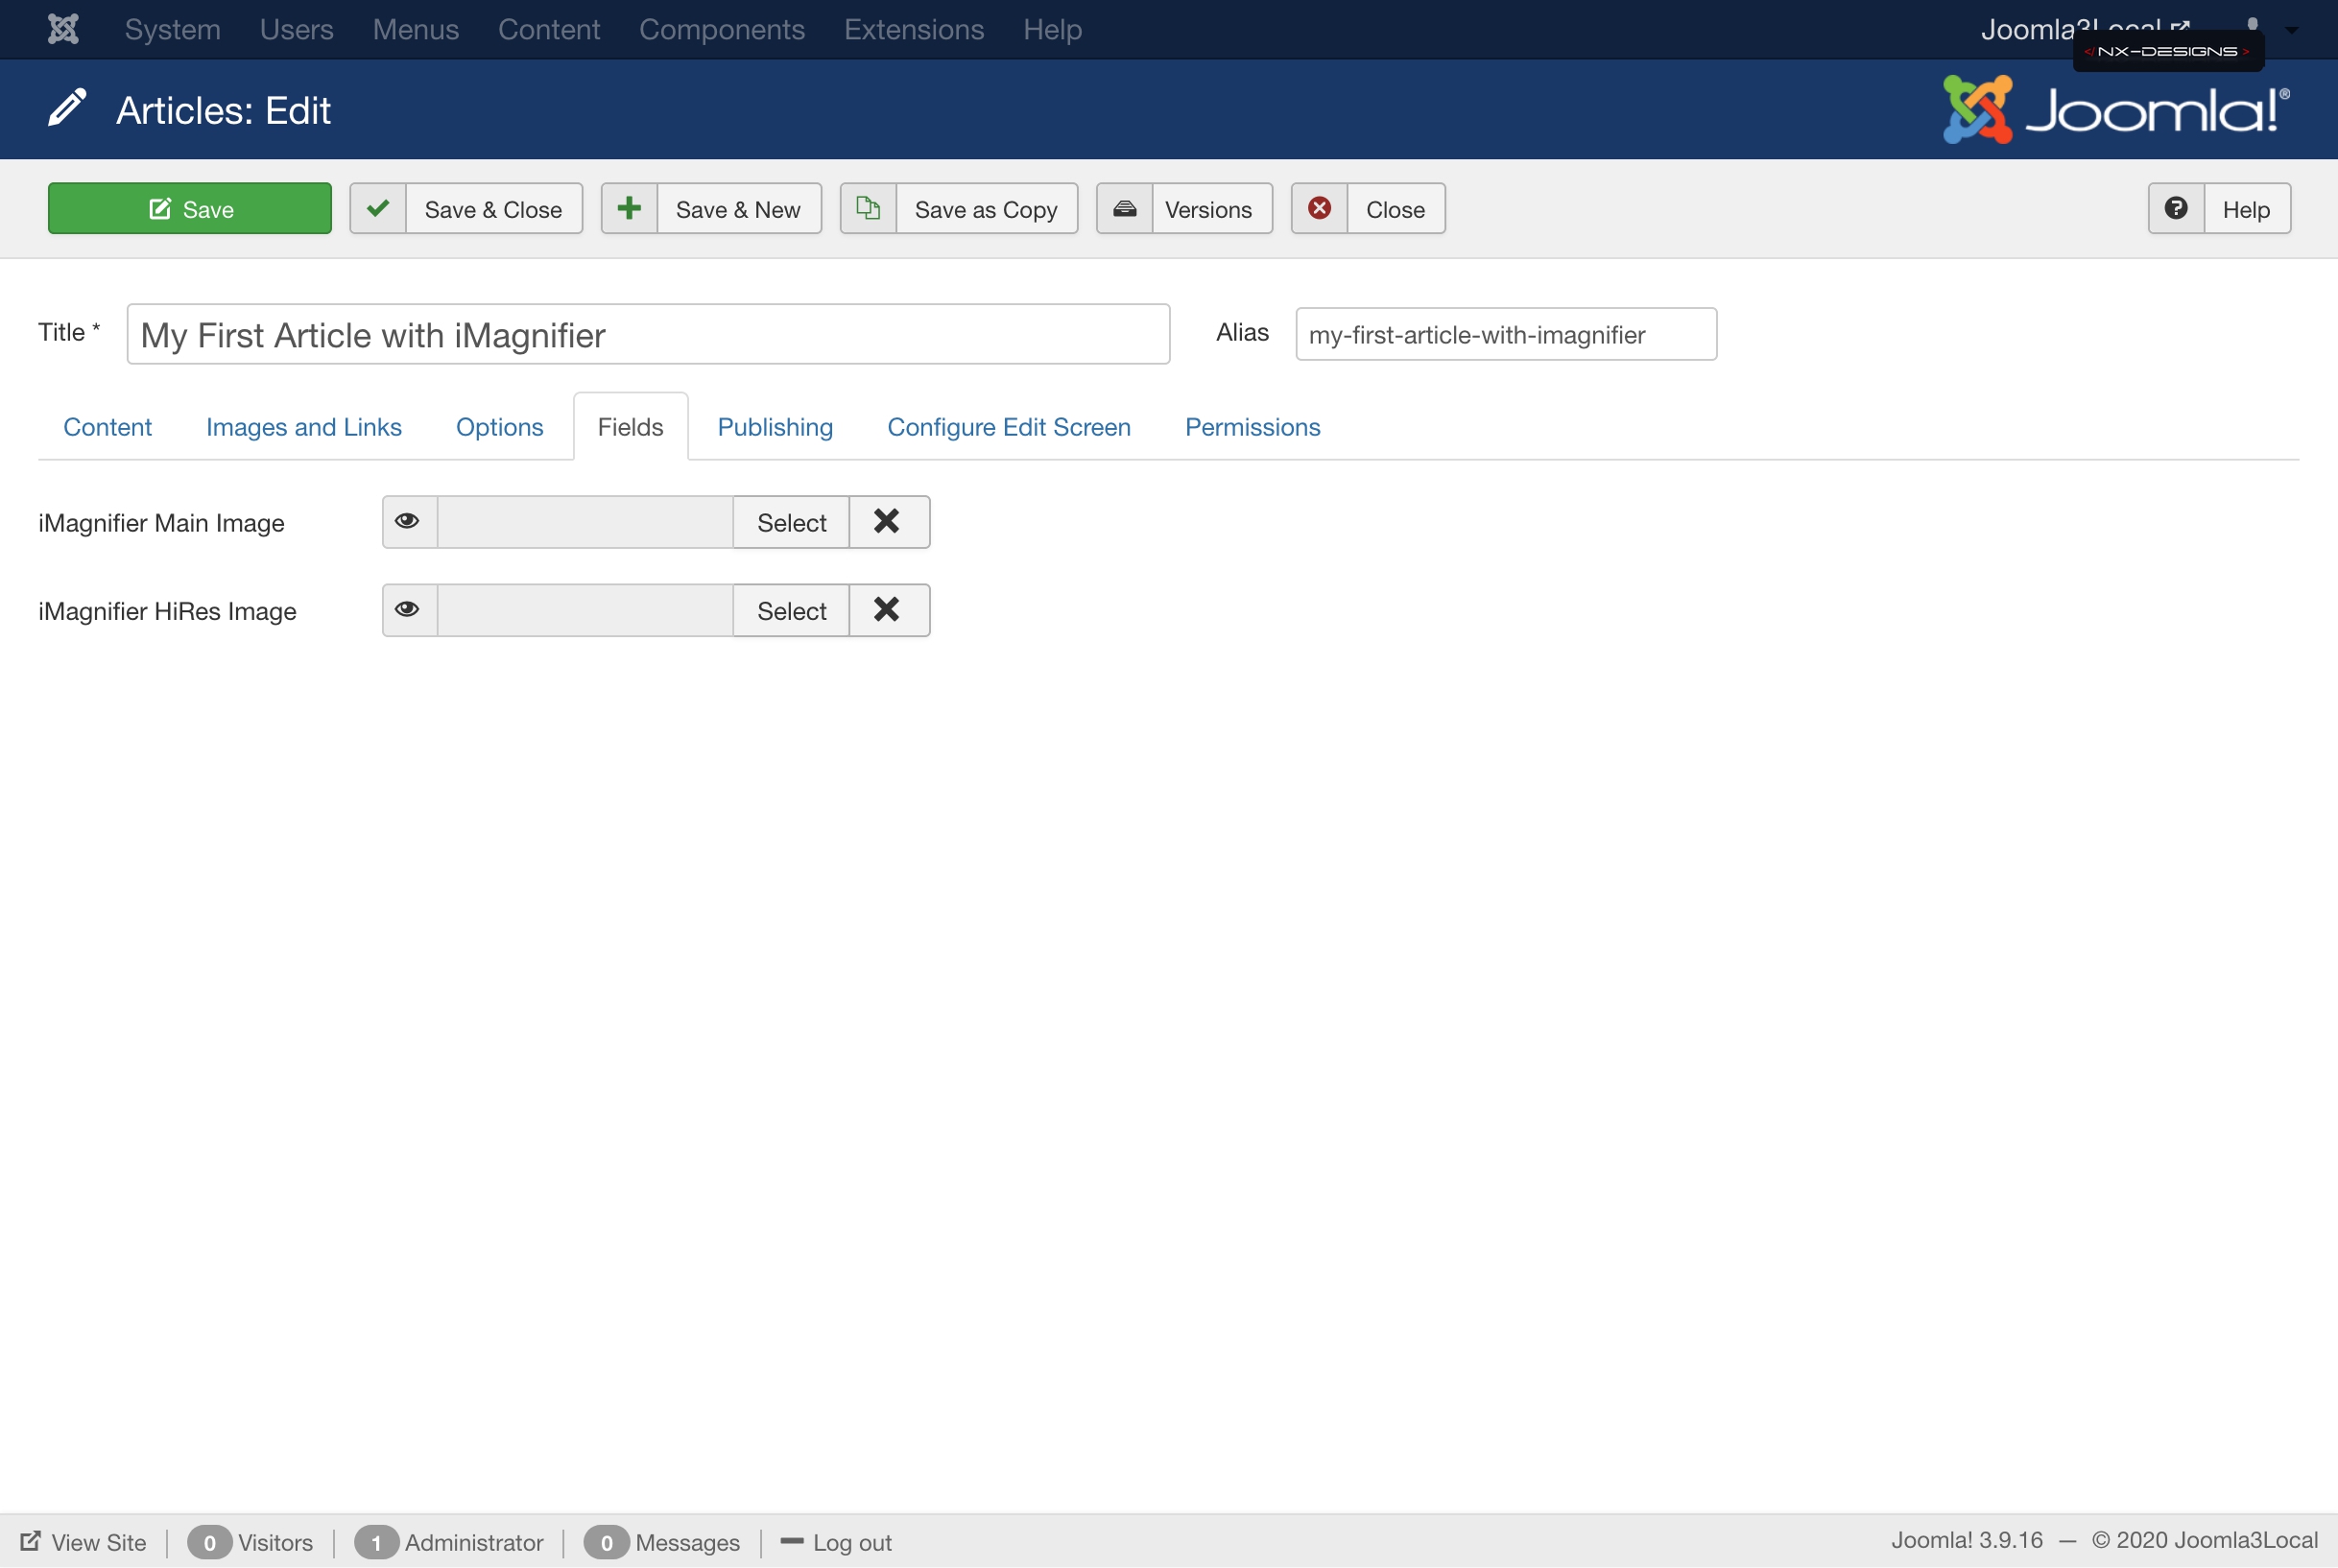
To access this view, edit a Joomla! article and select the Fields tab above (if you have assigned your fields to a group, the fields are listed in the tab of the same name). Now select a picture for the Main and HiRes here and save the article.
If you have published the iMagnifier module on a module position, you will now get iMagnifier with the corresponding image when you call the article in the frontend. You can also call iMagnifier directly from within your article by switching to the content editor (tab Content) and inserting iMagnifier as a module directly into your article:
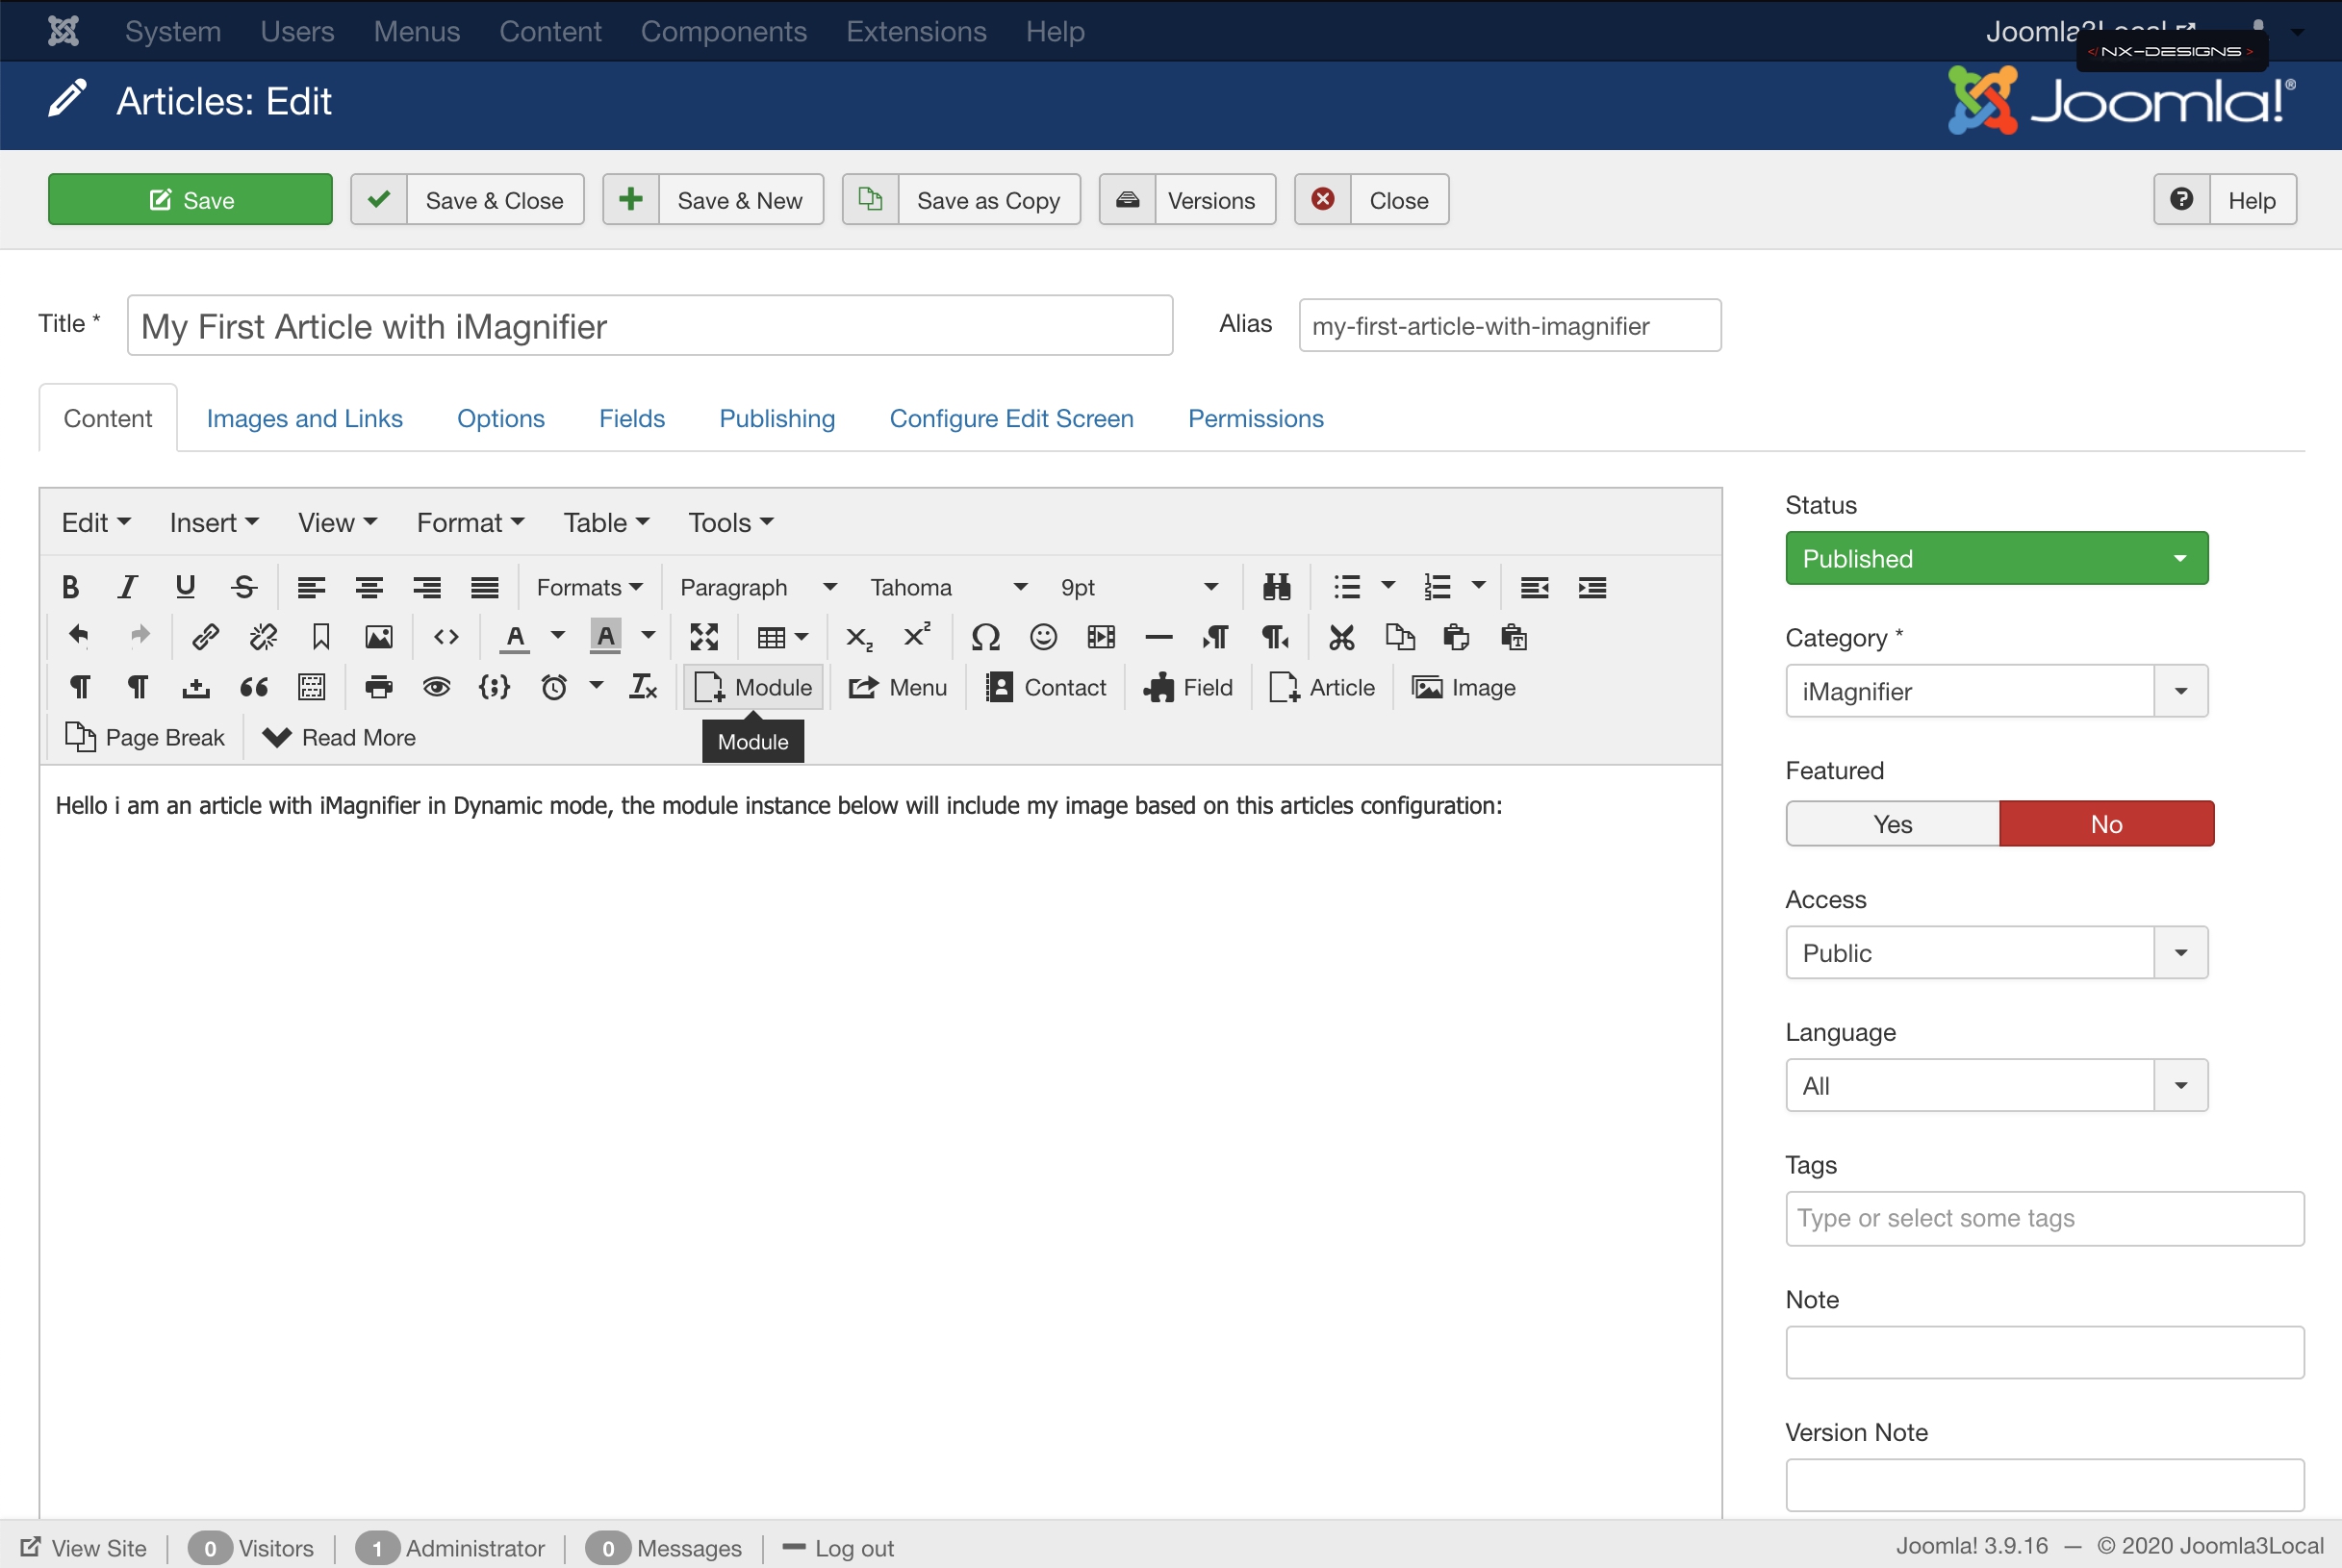
The image above shows you how to insert a module using the standard Joomla editor, if you are using a different editor (for example JCE) you may have the button to insert new modules in a post below the editor window. The way you can insert a module into a post differs depending on the content editor you choose.
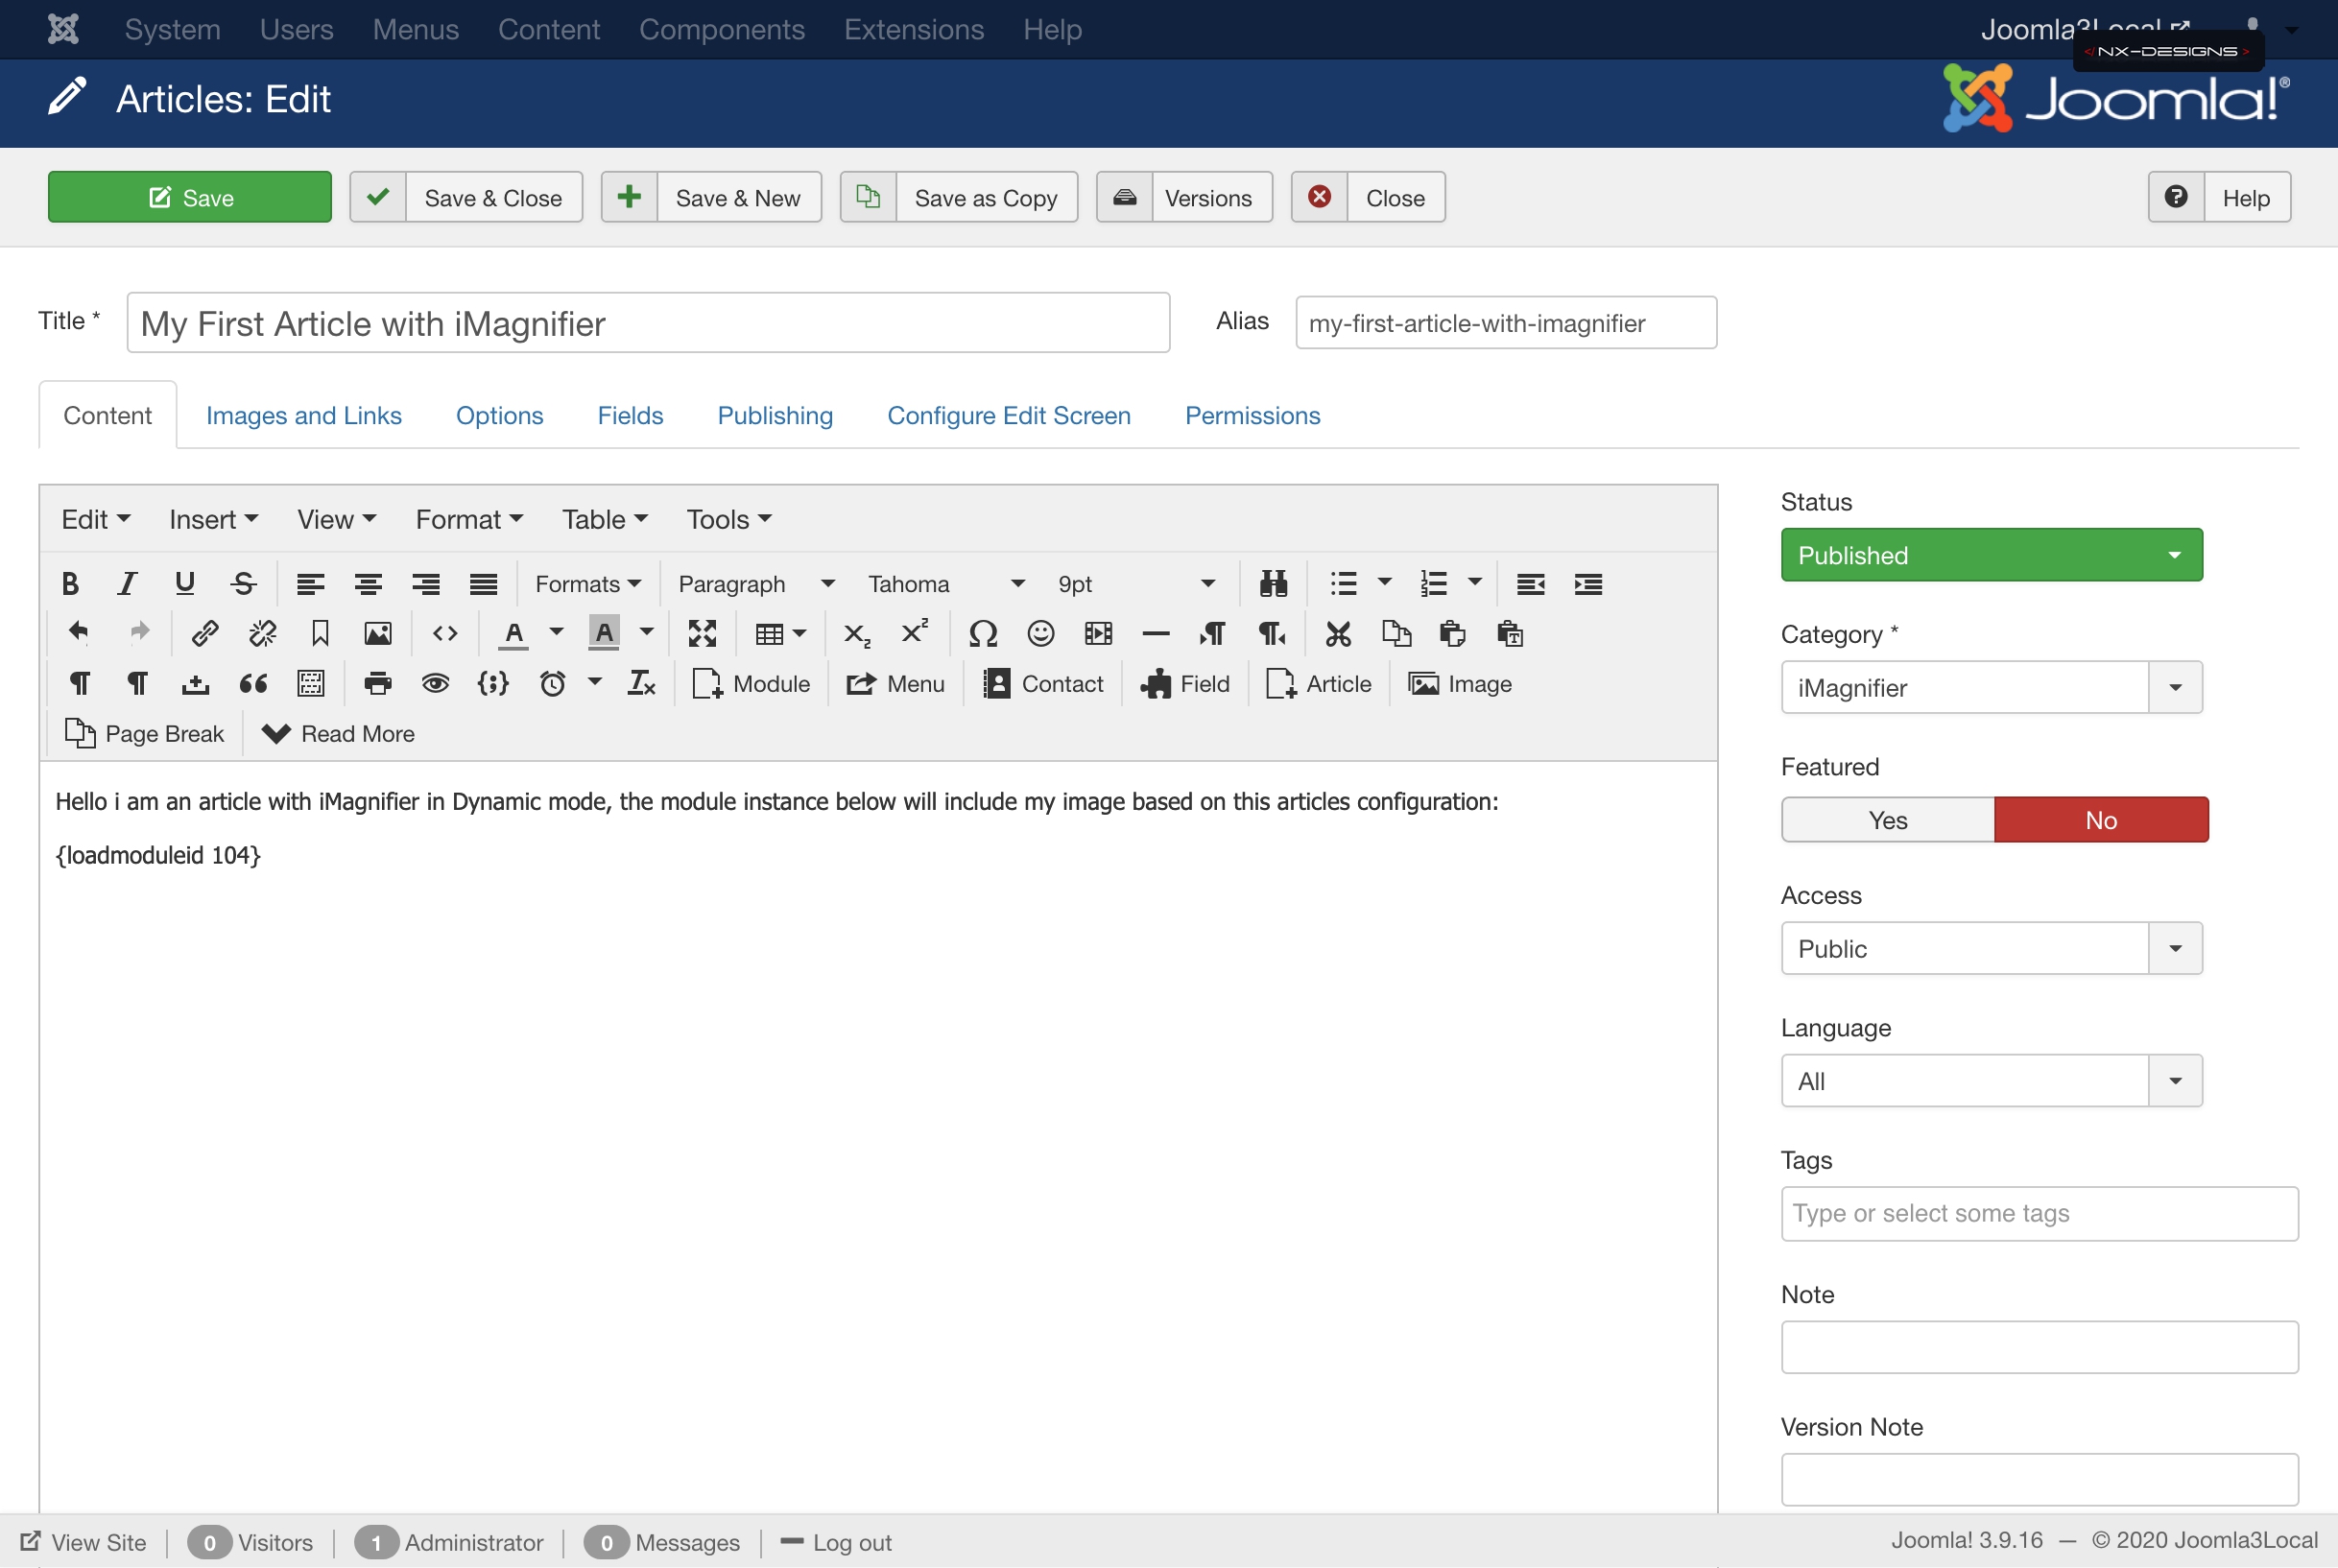
In any case, you should find something like this in your article after inserting the module:
{loadmoduleid moduleid}
Alternatively, you can load the module instance into the article using the Joomla Integrated loadposition command.
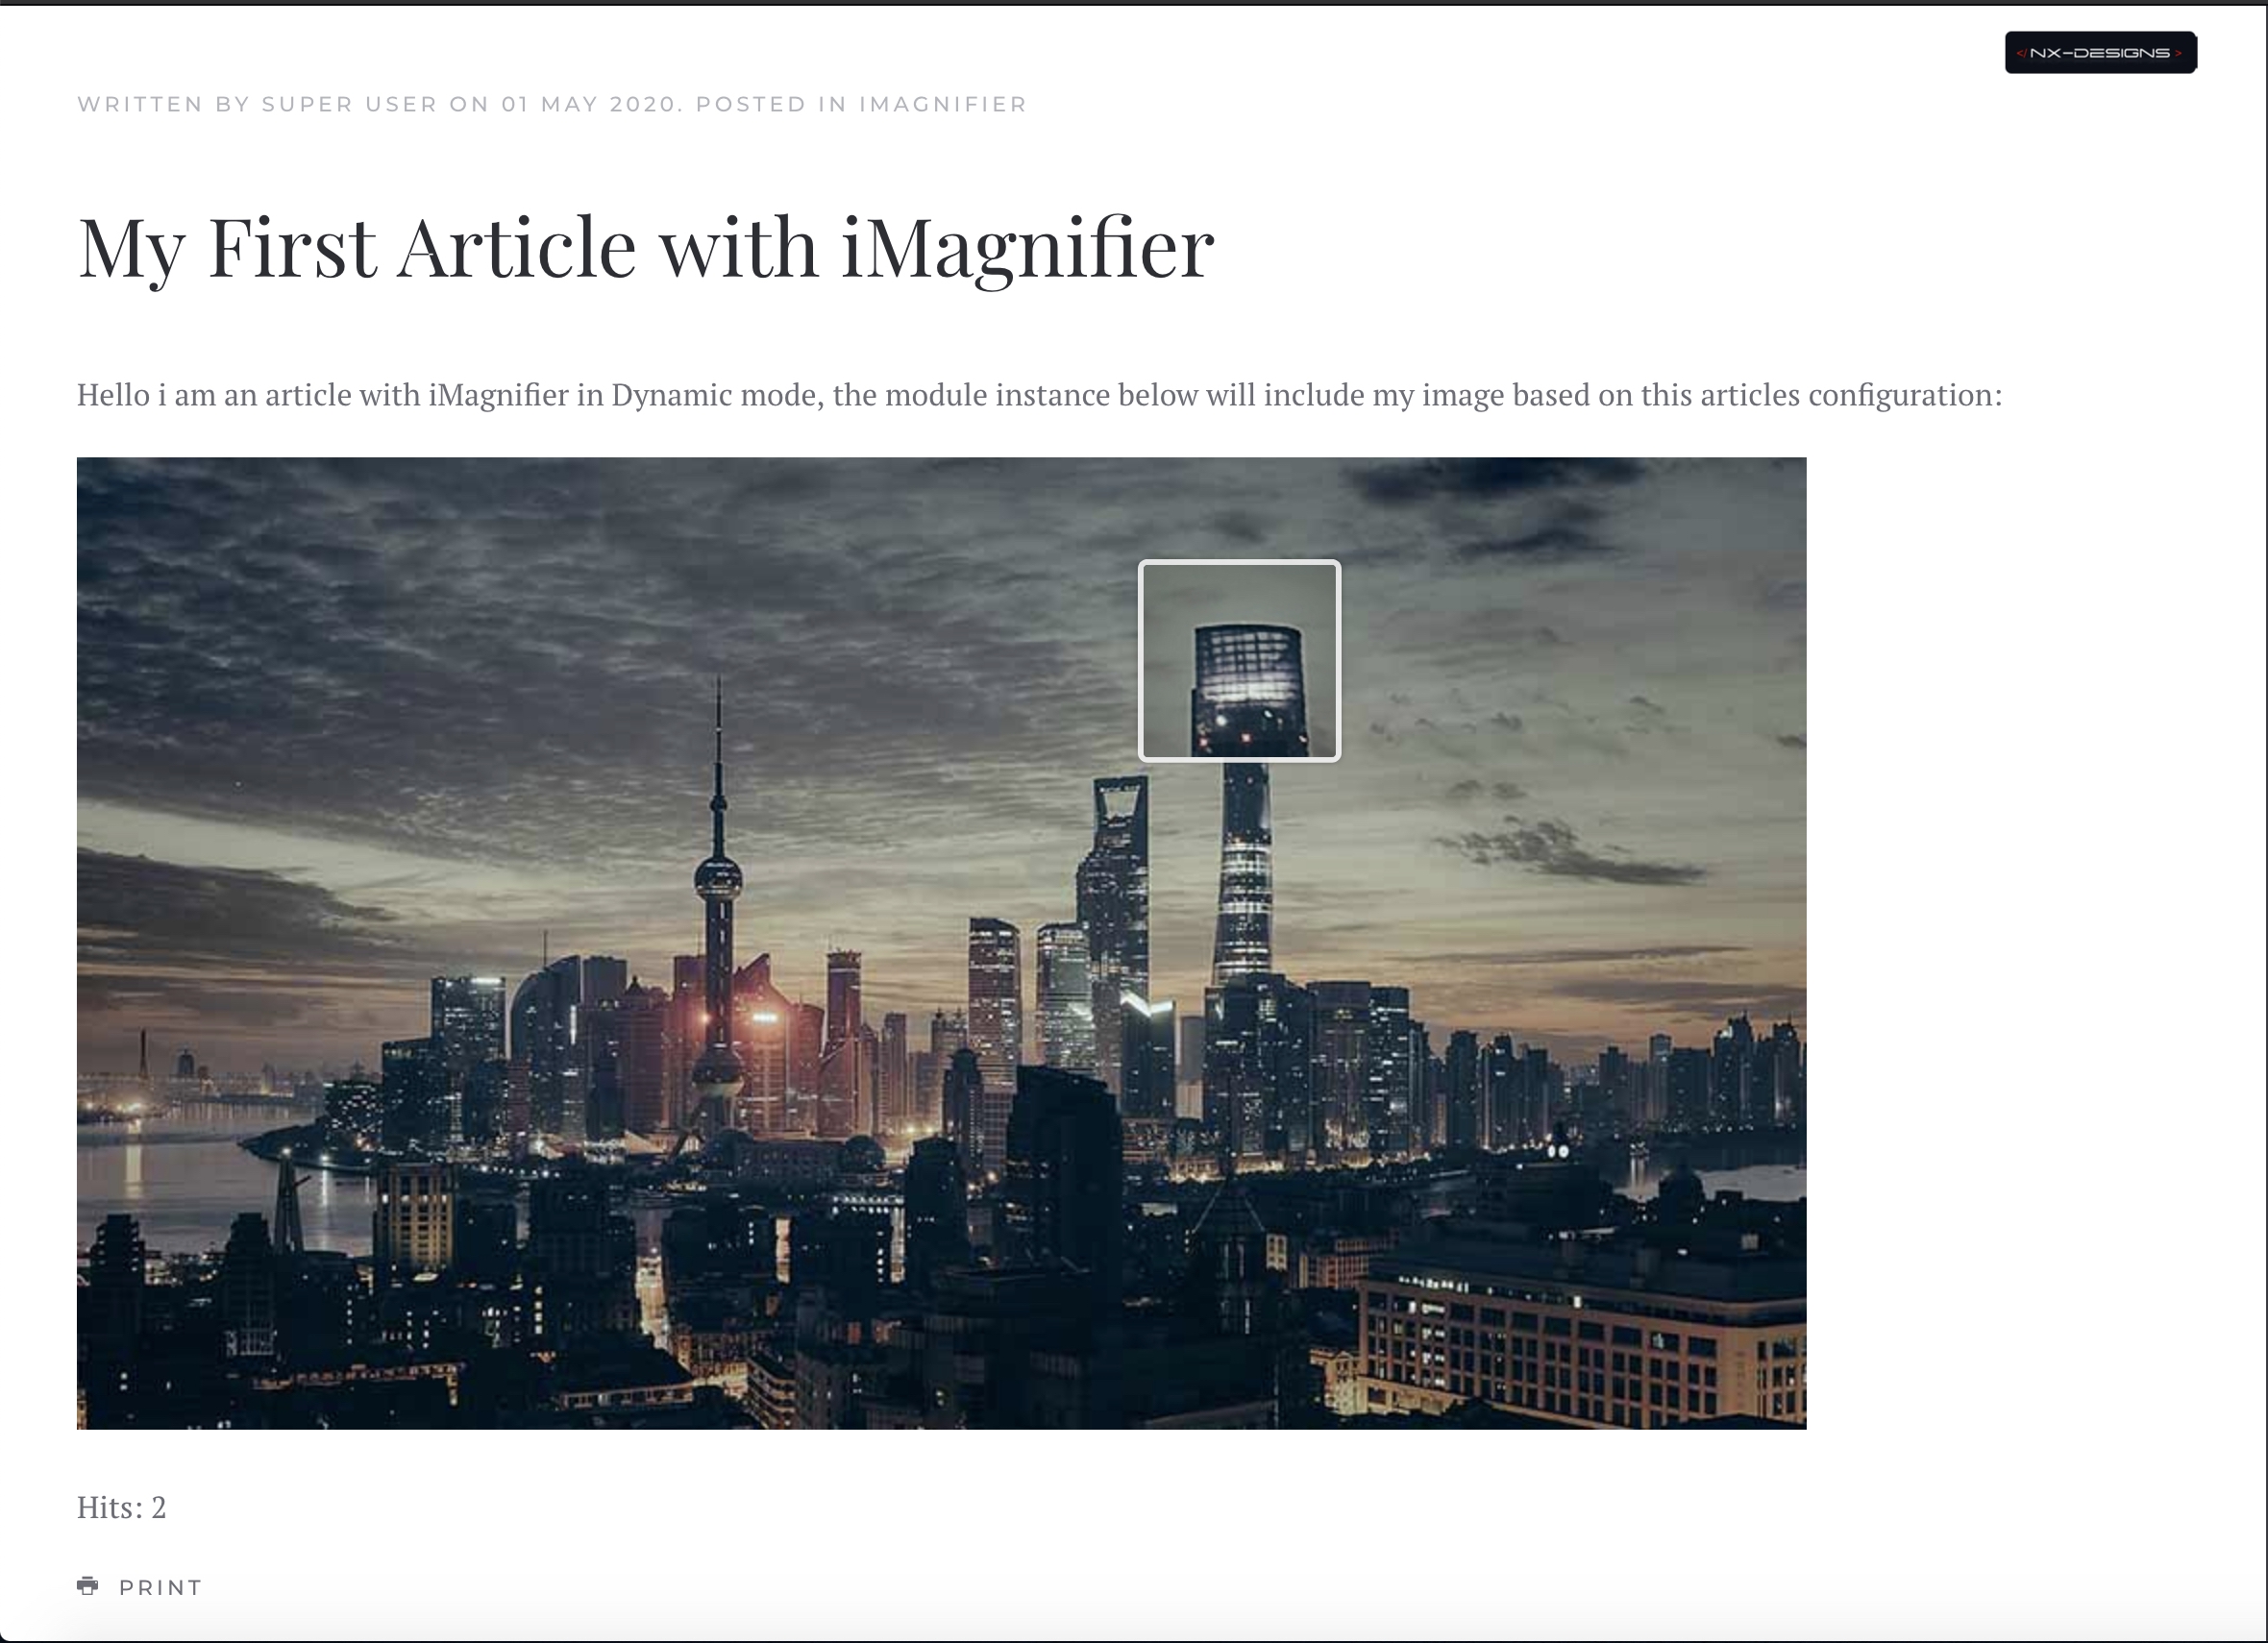
And that's it, if we now open the article in the frontend it looks like this:
You can now easily create more articles and fill in the fields for Main & Zoom Image, if you insert the iMagnifier module in the corresponding article, the information of the corresponding article is automatically used for the display, Dynamic!
You like iMagnifier? Let us know what you think! Write us a review in JED (Joomla! Extensions Dictionary)