In the previous chapters we installed the Exposer module together and created the foundation for the content to be displayed. We created a new category and saved 4 articles in this category. I've already reached my third cup of coffee and you finally want to continue.
Current state of progress
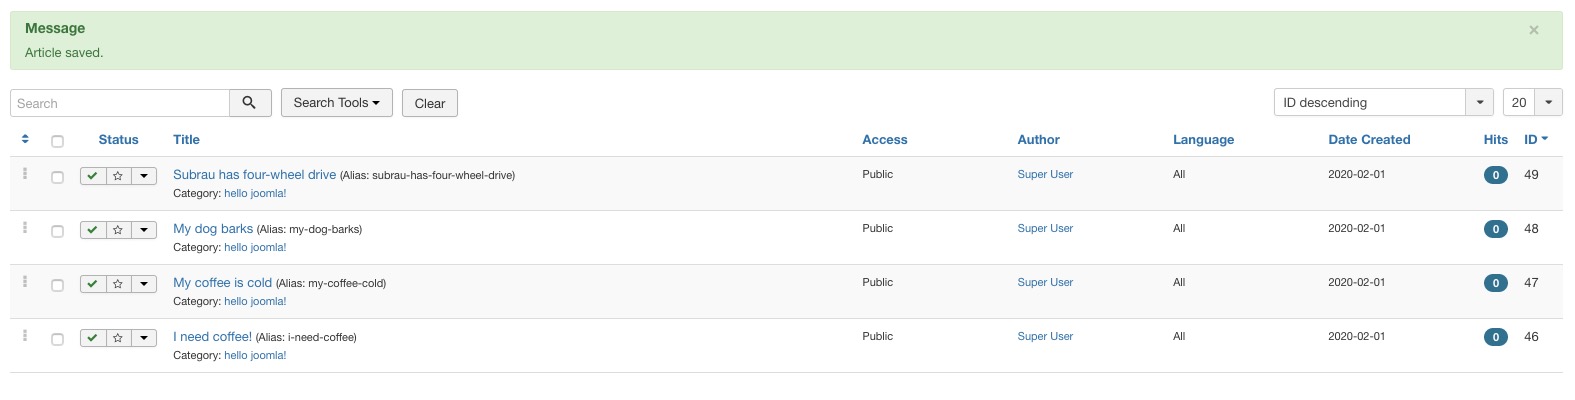
If you have already done the homework, you should now have four items ready for use in Exposer:
Create new module instance
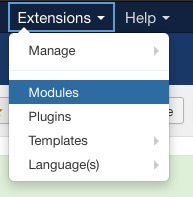
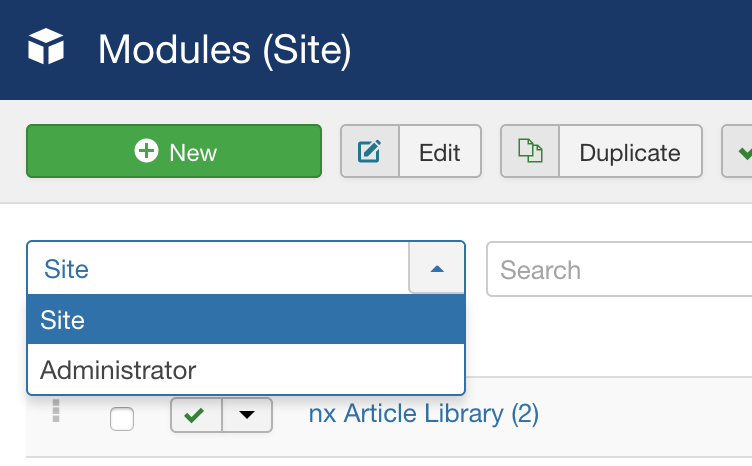
In the overview, we now see some standard modules that have already been installed and activated. Normally, the menu module and a login module are displayed here, Exposer may already be on the list. If you find an entry for Exposer you can click on it to configure the module instance. If not, you can use the New button in the upper left corner to add a new instance of a module that you can select in the next step. It is also important that you make sure that you display the view for modules of the site, not administrator. Site includes all modules for the website, Administrator includes those used in the Joomla! backend.
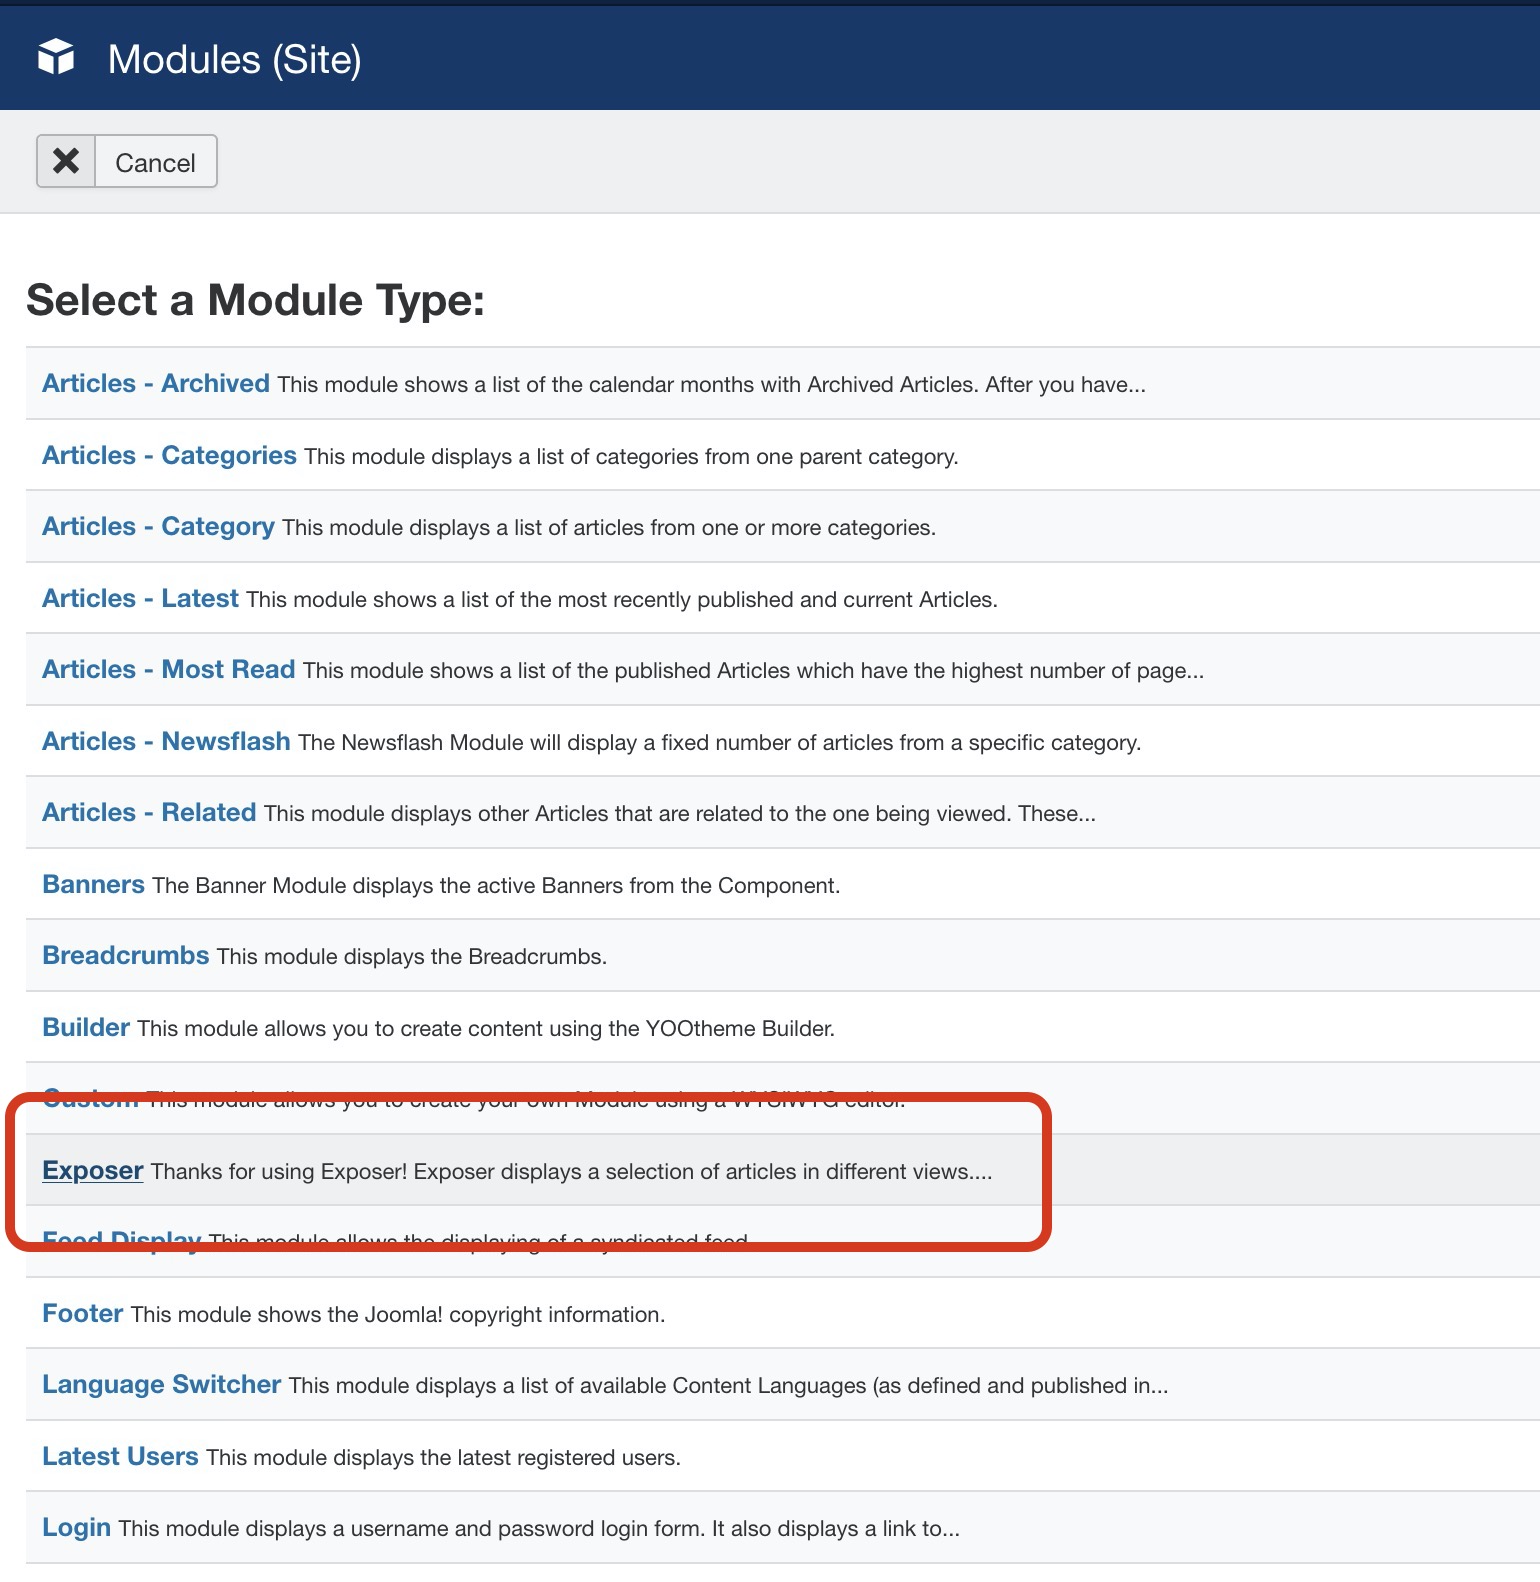
By clicking on the new button we will see the following popup, here we select Exposer as module type:
After a click on the entry we are directly forwarded to the configuration of the Exposer module:
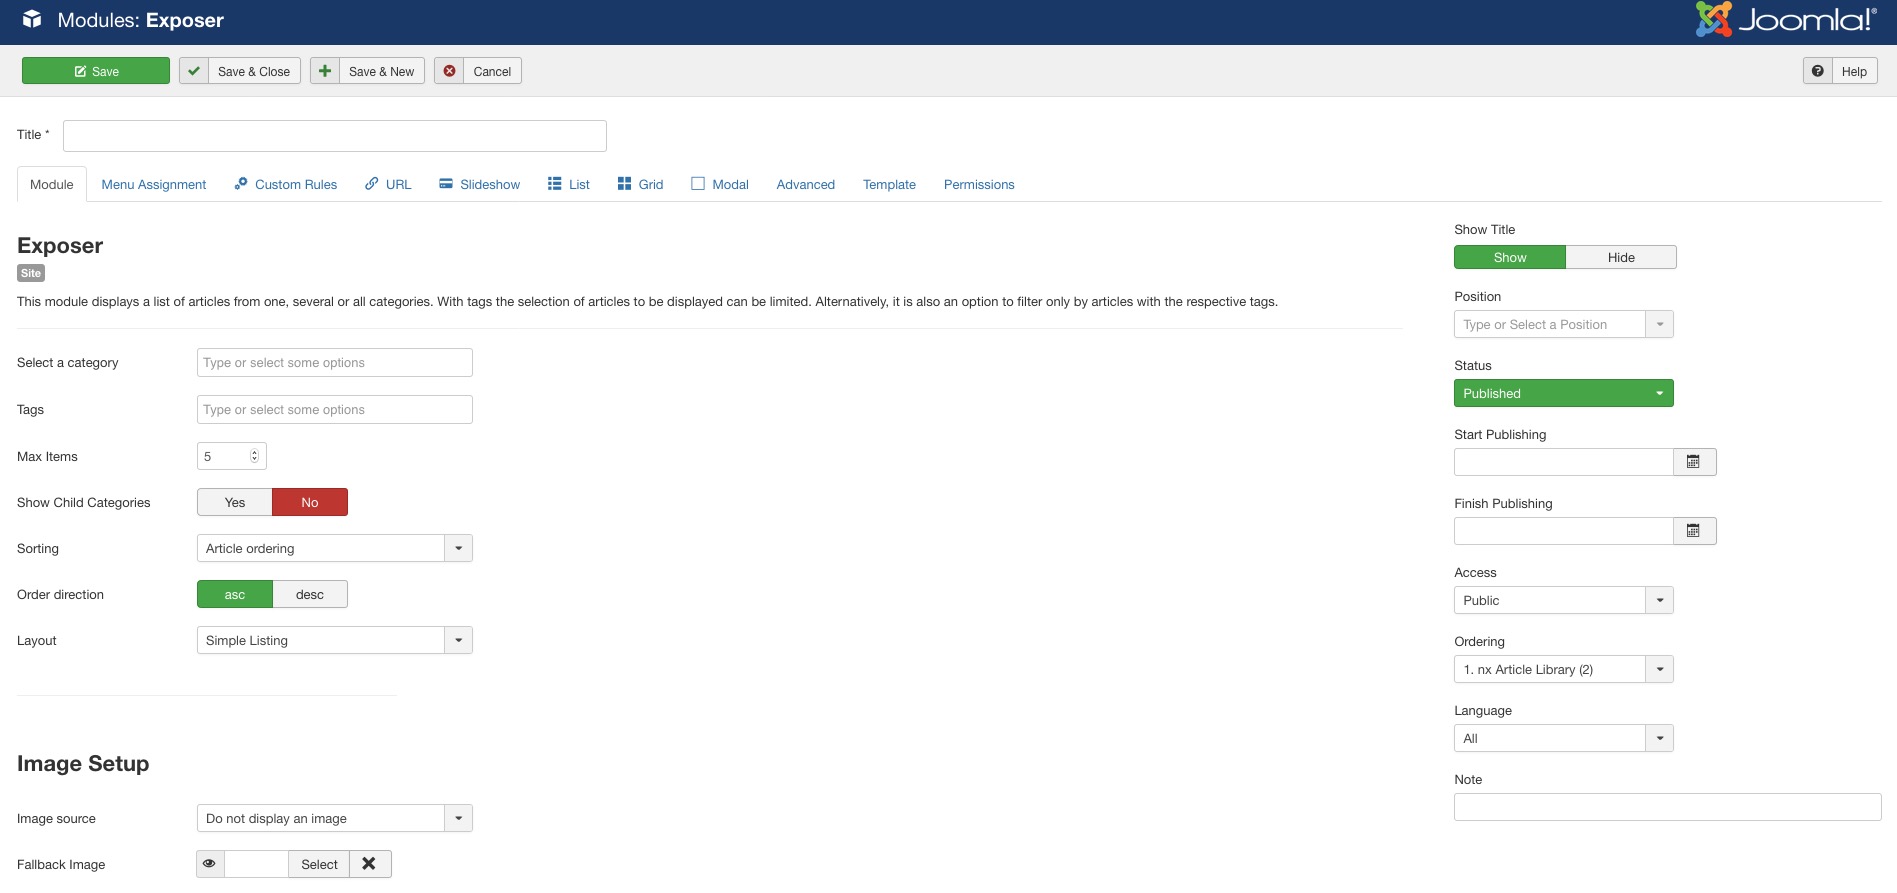
There is still some work to be done but not as much as you might think now, we will proceed step by step. First we give the module instance a name, let's call it "hello exposer" - The name can be chosen individually and can be displayed on the page as you like...
After that we save it first with the Save button - this wouldn't be necessary, but get used to it that you are going to cache your workflow from time to time, just in case. Now we start with the configuration.
Basic settings To display Something on the website
In order to have something tangible we now set some parameters in the module settings. Beginning with the category, here we can select one or more categories from which our articles should be taken:
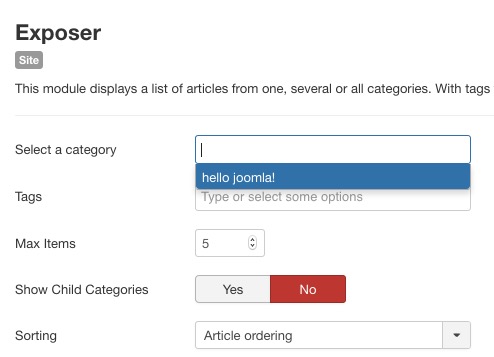
As you can see here we automatically see the category we created at the beginning, at this point all article categories of your website are listed and can be selected as source by clicking.
Let's skip the option for TAGS for now, here we could activate an advanced filtering and show only the articles of the selected category that have a special tag.
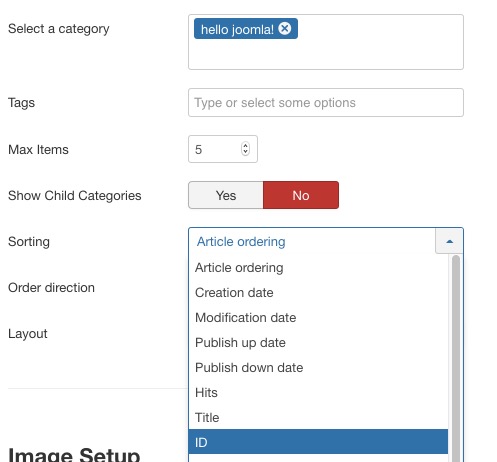
In the next step we select the value "ID" from the dropdown field. ID stands here for the article ID why I didn't name the field value article ID is currently a little bit incomprehensible to me also and will be adjusted in an upcoming update - for now: ID = article ID. Sorry about that :-)
As Order Direction - resp. Sorting Direction ... yes yes yes yes I will rename it :-) we now choose if the articles should be displayed in ascending or descending order. Do you remember? If a new article is created, Joomla automatically assigns ascending ID's, which means: The newer an article is the higher is its ID. If we now want to see the newest articles first / on top in our view, we choose the option descending.
The next step is to place the module on our site.