Still here? Good! Let's get another fresh cup of coffee and start with the next step. Let’s create our articles.
Articles in Joomla host the site content and can be used in several ways. In Joomla! 3.x many new features were introduced that have strongly influenced the ways and methods of using articles. Modules like our Exposer take advantage of these innovations and allow you to do much more with your articles than just creating simple posts.
We create our first article
To start we can (if we are still on the category view from before) just click on articles in the menu on the left. If you are somewhere else in the Joomla! backend you can click on Content in the main menu above and then on Article to get to the following screen:
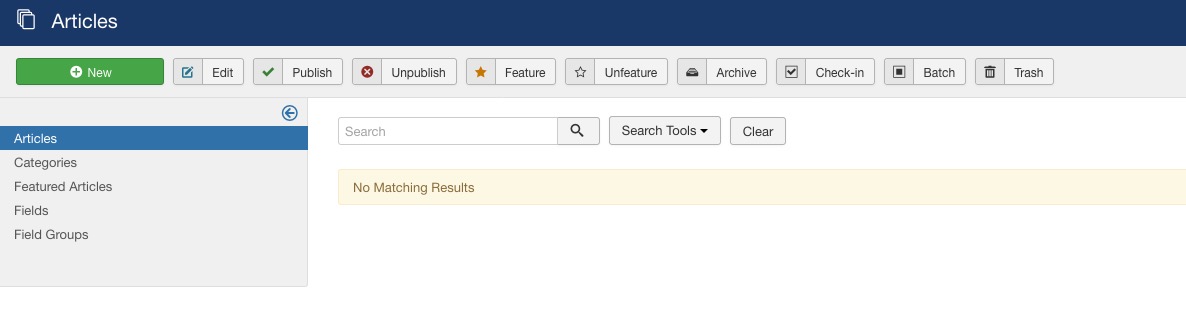
This page shows a list of all articles of your website - at this point again the hint: If you have installed Joomla! including demo content there might be articles already listed here. But we don't let this iritate us and simply create new ones by clicking the button New in the upper left corner.
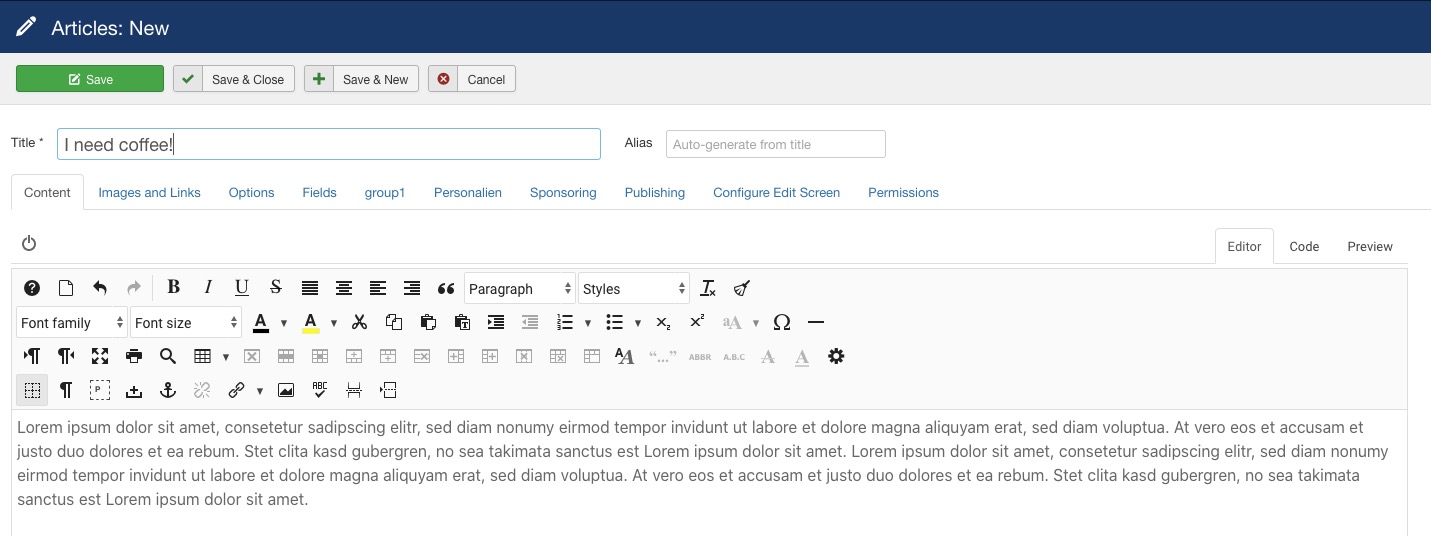
A click on new takes us to the so-called Article Edit Screen. On this screen you can edit the respective article and fill it with content. We will now go through some points that are relevant for us. A complete overview of all options can be found as always in the Official Joomla! Docs.
We are working on our first article
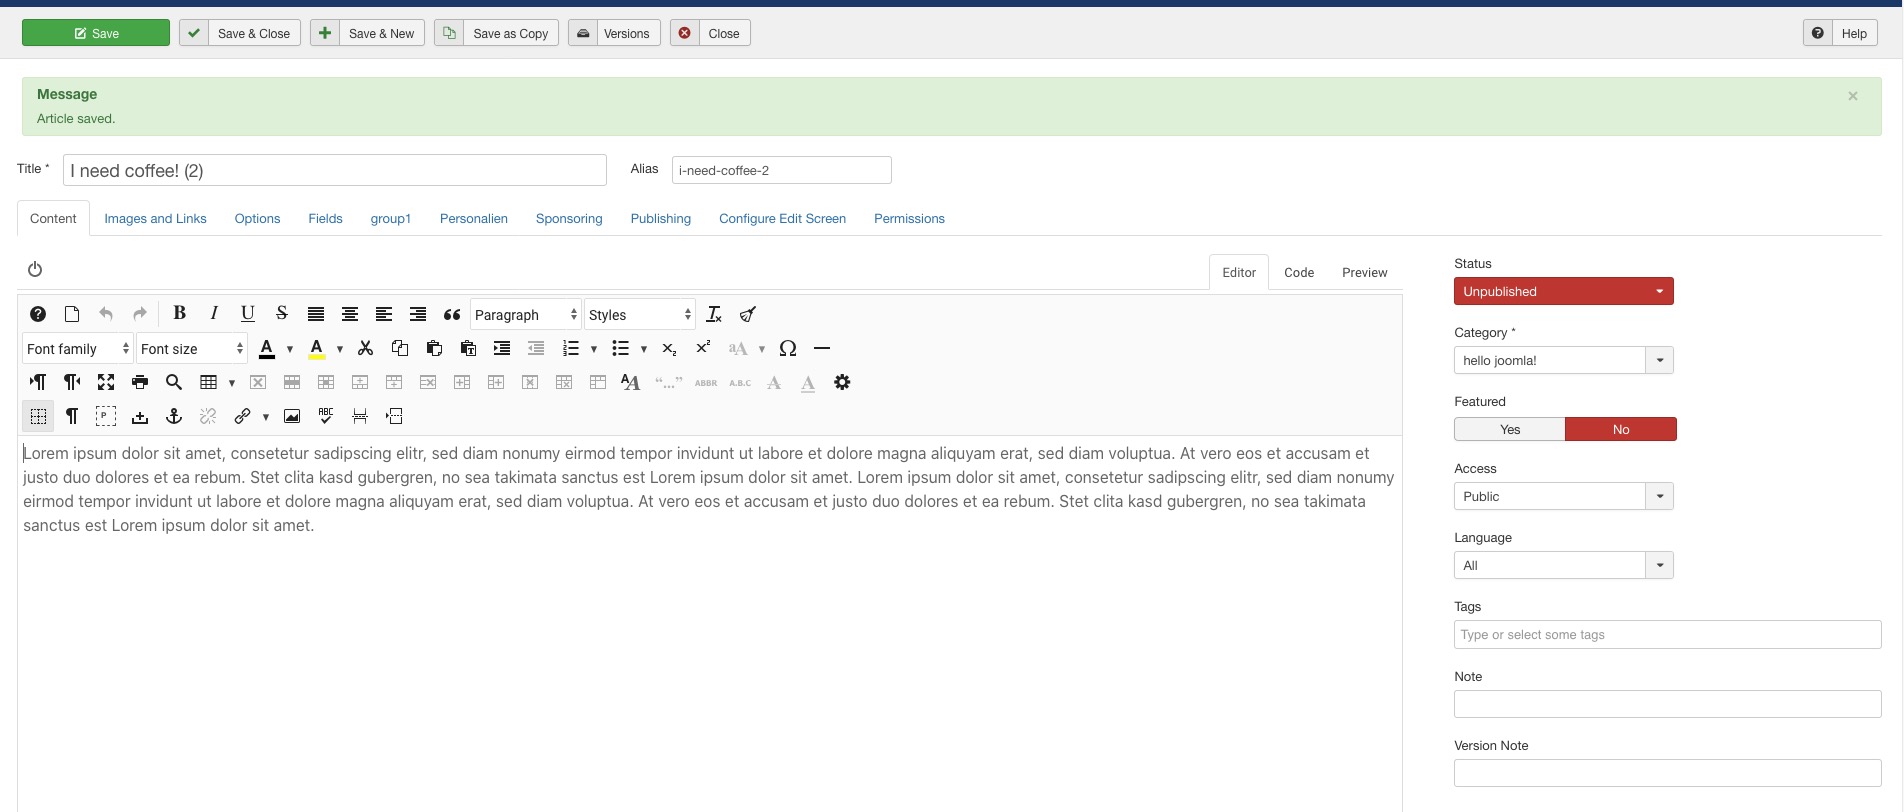
The article edit screen is dominated by the editor, this usually contains the text content of the article, intro text and full text of the article are stored here, also marked in orange on our screenshot is the title field which contains the heading of the article.
On the right side (marked blue) we find the basic article options, they control if the article should be displayed and which category the article belongs to.
The fact that there are tabs between the title and the content editor should not be ignored, the two tabs marked in red have fields that are useful for us and we will look at them in detail in a moment.

Let's create some content first
First of all we give our article a fitting name, how about: "I need coffee". Sounds good...
As text I get some lorem ipsum as a placeholder for the text area, I don't know if it is called something else in your native language but here is a generator for dummy texts if you need one: Dummy Text Generator.
Our article now looks like this:
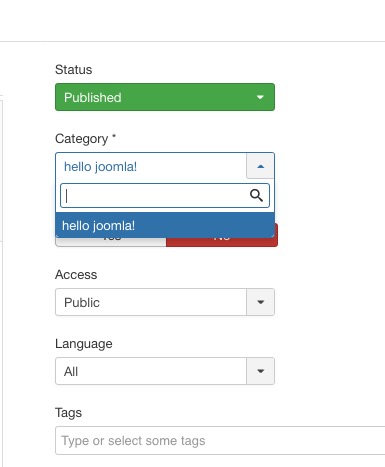
that's enough for now, now we have to make sure that we have assigned the article to the correct category, for this we select our previously created category from the dropdown list on the right. Please also make sure that the status here is set to Published and the Access is set to Public. Exposer and other extensions can also display articles that have a different access, but the user who is viewing the website must also have the appropriate access level. To make it short: Make the article public and everyone will see the article and we don't have to worry about that right now.
So far so good, we have now filled an article with content, assigned it to our category and set the status and access level correctly. Now we save this article with the button in the upper left corner (Save) - not Save & Close.
After saving, we can now copy our article and save some time.
Create article copies
For this we click after saving on the new button Save as Copy which has now appeared:
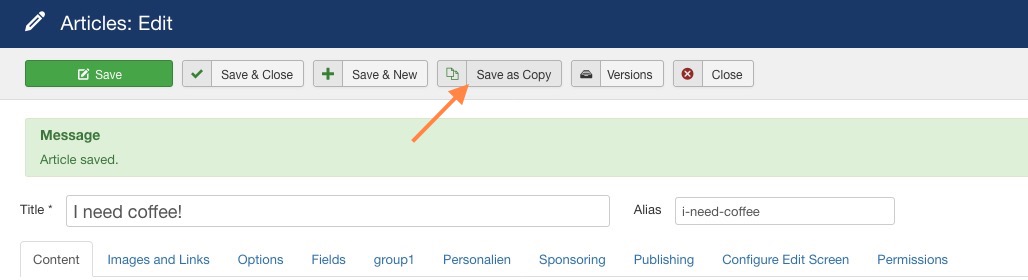
A click on this button creates a new article and copies all contents of this article there. We are also automatically forwarded to the edit mask of the NEW article:
As you can see the whole thing doesn't really look any different than before, only the options for titles, aliases have been given one (2) (since a copy of the first article) and the status has been automatically set to unpublished. Again, this is now a new article. Our first article from before is still here, still published and ready to use. But we will now also launch this new, second article.
This time in short form:
- Change the title from I need coffee! (2) to My coffee is cold!
- Change the Alias to my-coffee-is-cold (the alias is the named id of your article, for us not really necessary but needs to be unique)
- Set the Status to published
- Category should be already correct setted up to your previously created category
This time we click on save and close and are forwarded to the article overview:

We can now see the following in the article overview:
- We have two articles, the status of both articles is published (green tick).
- Both articles are assigned to the category "hello joomla!" (visible below the article title).
- The access for both articles is set to public.
- In addition, we see in the last column that Joomla! has automatically set an article ID, this is unique.
Each new article receives the next higher ID, so if we now create a third article, this would get the ID 48 on my installation here, the next then 49 and so on - we remember this now just so ok?
Know what? i think you are ready to create a third and fourth article now by yourself, be a bit creative and create new articles with title and content, categorize them identically to our first examples and we will see us in the next chapter.